Showing posts with label Cake Pops/ Cake Balls. Show all posts

Monday, December 10, 2012

Cake Ball Ornament Party Favors


It's beginning to look a lot like Christmas.
Everywhere you go.
Take a look in the warm oven.
Preheating once again.
With cuppy cakes and macarons a glow!

It's beginning to look a lot like Christmas.
Cookies are in store.
But the prettiest sight to see
are the cake balls you will bring
to your friend's front door!

Eh? Eh? Like my song? Yeah, I made it up all by myself.
I could go on (because I just do this kind of stuff) but then thought better. 
You're welcome. ;)

Anyvays, my little song wasn't just for cutesake. It was prepping you for this next post on cake balls. So, are ya ready?! 
{ =D  I smile big every time I use the interrobang only because it is named such. haha}
I've given you the low down on how to make some pretty dang tasty and good looking cake balls. 
{If you missed it, check out Making Cake Balls and Dipping Cake Balls}

I am going to give you a few more tips here and show you how to make cake ball ornaments... not real ornaments... more like real cake balls. :)
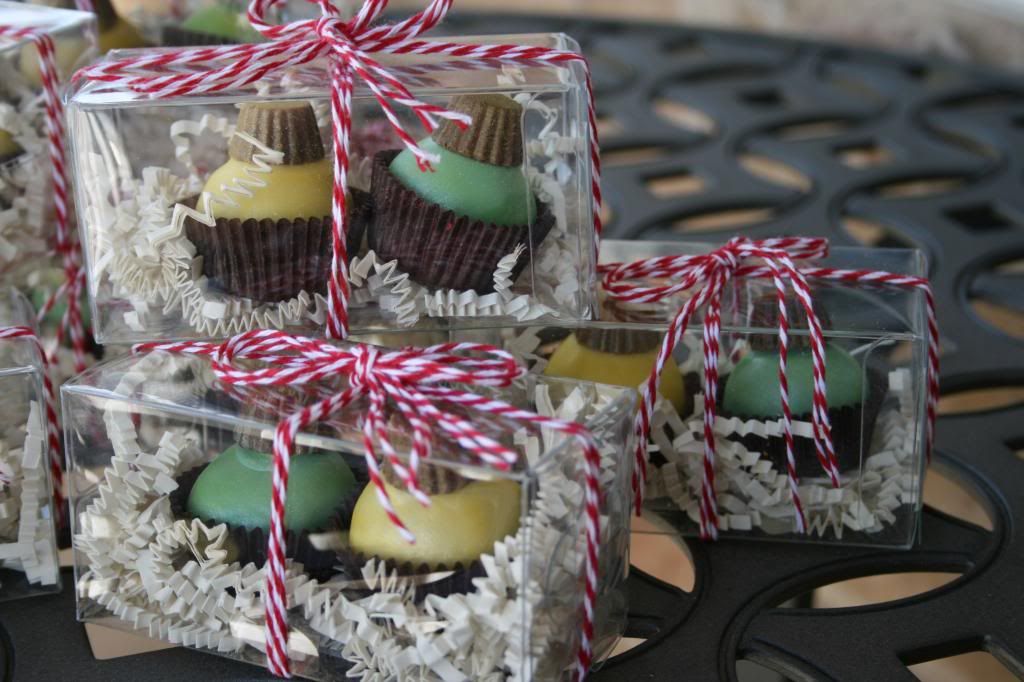
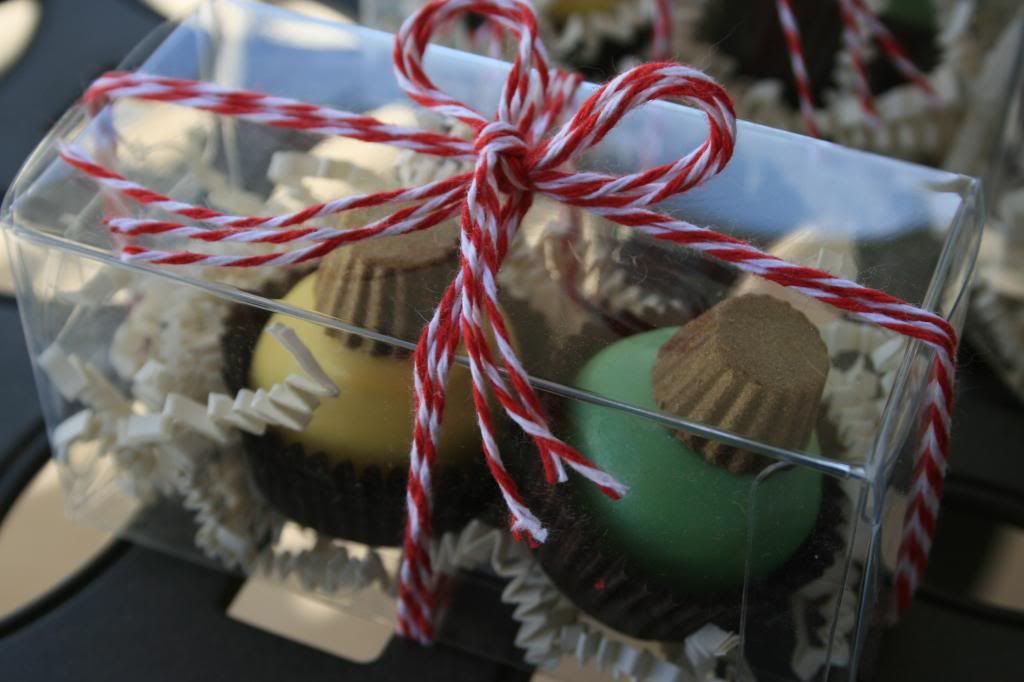
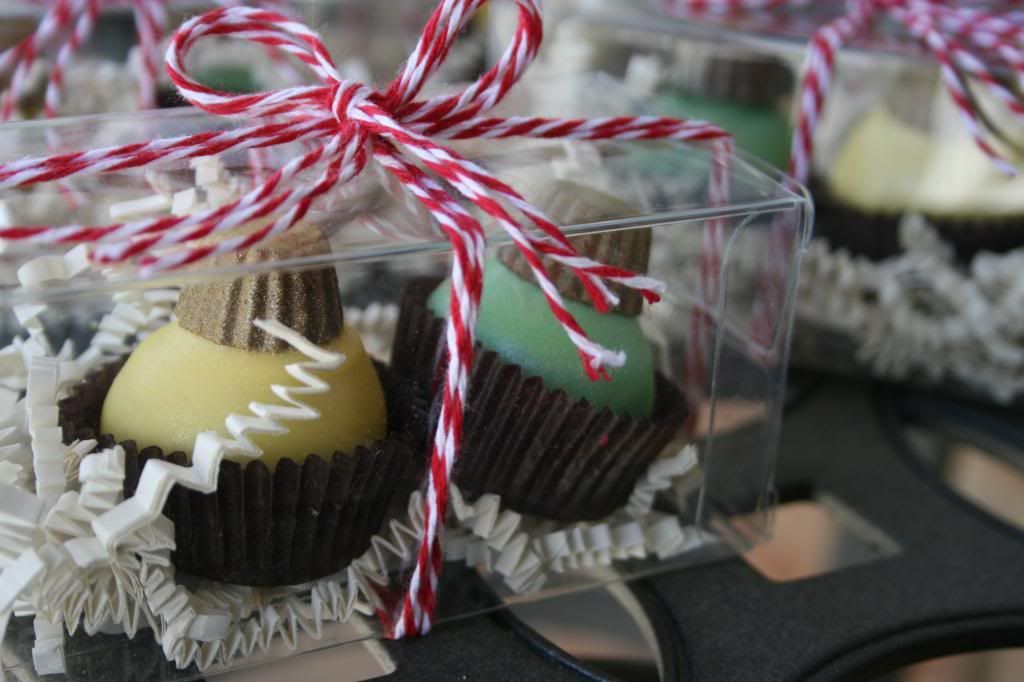
Like these.


Awww. Aren't they cute? {Rhetorical question}
Well you're in luck.... they're as easy as they look.
These make fabulous Christmas gifts or you could even make these for a cookie exchange and impress the ugly sweaters off of everyone (...overachiever). These happen to be gorgeous party favors for a Ladies Christmas Luncheon.


I also did red ornaments but didn't get a chance to take nice pictures of them. You'll see them later. These pictures don't really show you what they really look like, unfortunately. I gave the outside of the ornaments a metallic sheen to it.


Here are the supplies you'll need.
Undipped cake balls
Candy melts/ chocolate in your preferred colors
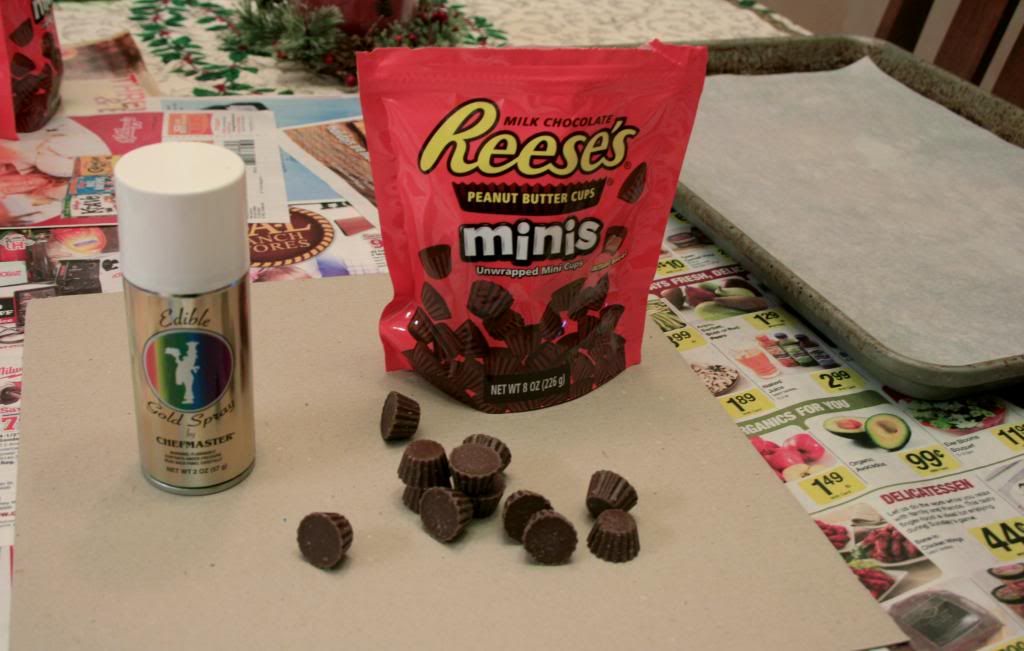
Reese's minis (NOT wrapped miniatures- see pic below)
Edible Gold Spray
Luster/Pearl Dust to match your melt colors
A soft brush
2 x 3" clear boxes
Shredded paper (I used Ivory colored)
Baker's twine in your preferred color
Candy cups


First, I want to chat with you about packaging.
THE best place to get your packaging online is from Paper Mart. They have the cheapest prices I have seen even compared to local stores around me. Their orders ship the same day and the whole company is just impressive. This is the only place I buy my packaging from. They have a HUGE selection too.


I bought these clear boxes and didn't realize they opened on the small end and not along the long edge {if that makes sense}. That made things a little more difficult to package so just keep that in mind when buying your boxes! The shredded paper comes in a huge box and will last you forever! {So you may want to buy a color that can be used in lots of different ways} I'm excited to use it!
The baker's twine is a good deal too. $10 for 240 yards, Cheaper than anywhere else I have seen it.


Ok! So. Step 1
Get your mini Reese's and edible gold spray out.
I used Chefmaster edible gold spray but I'm not sure I will use this product again. It did not really cover a lot of area and I ran out before I got the effect I wanted. Plus this can was $9. Not worth it in my opinion so I think I will try something different next time.
{If you know of any awesome options, let me know!}


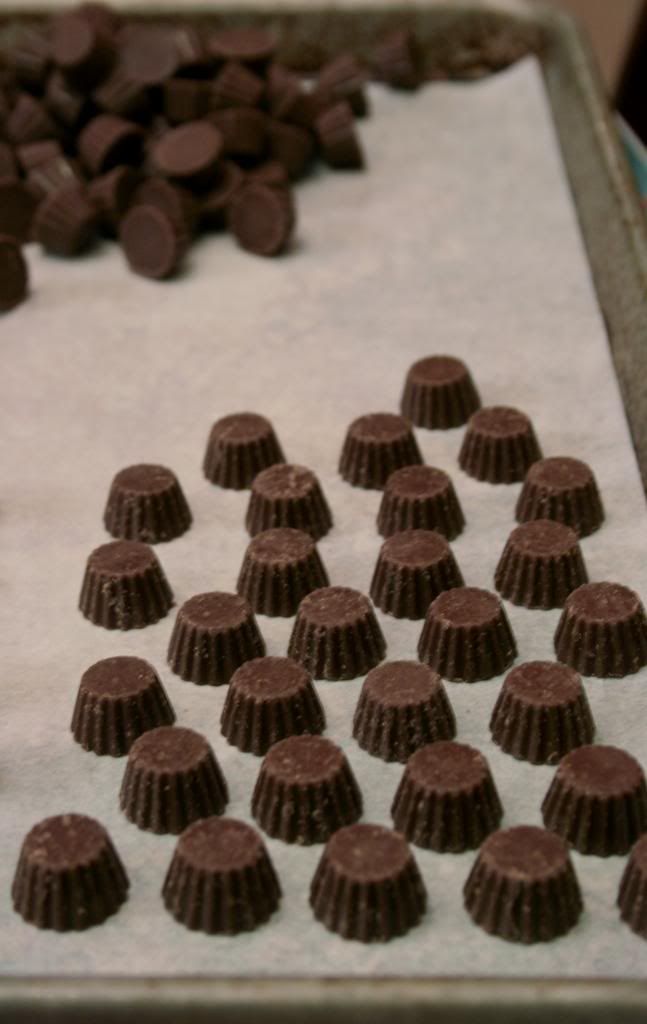
I lined a baking sheet with parchment but I probably didn't need it at all. I wouldn't waste it next time.
Cram as many of the mini Reese's as you can onto the baking sheet allowing some space in between so the spray can get to it. Put the big side down.


I then took it outside so the overspray wouldn't get on anything, spray back and forth staying about 6 inches away from the mini. Spray all the sides so you get fairly even coverage and you get the desired affect.


Don't get too close. It will use too much and it doesn't look the best in my opinion.
See here below, on the left I sprayed too close and it didn't really look gold anymore, it was more yellow weird looking. Just lightly spray over and over until you get your desired shade of gold. 
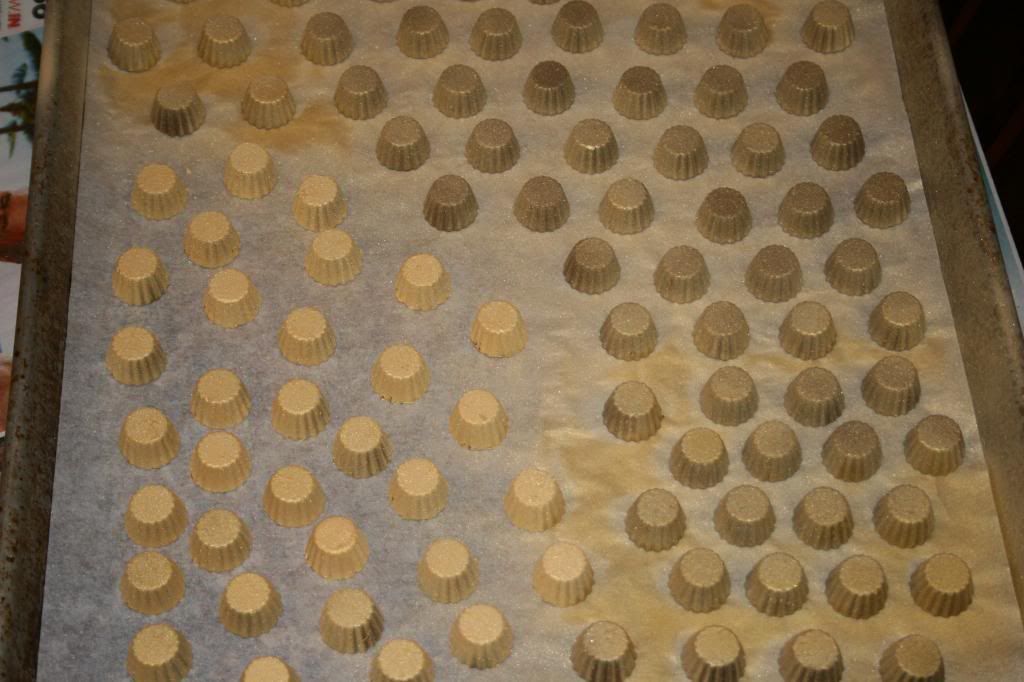


Below: heavy spray. It kind of took away the shiny gold look.
It looks ok but not what I was going for.
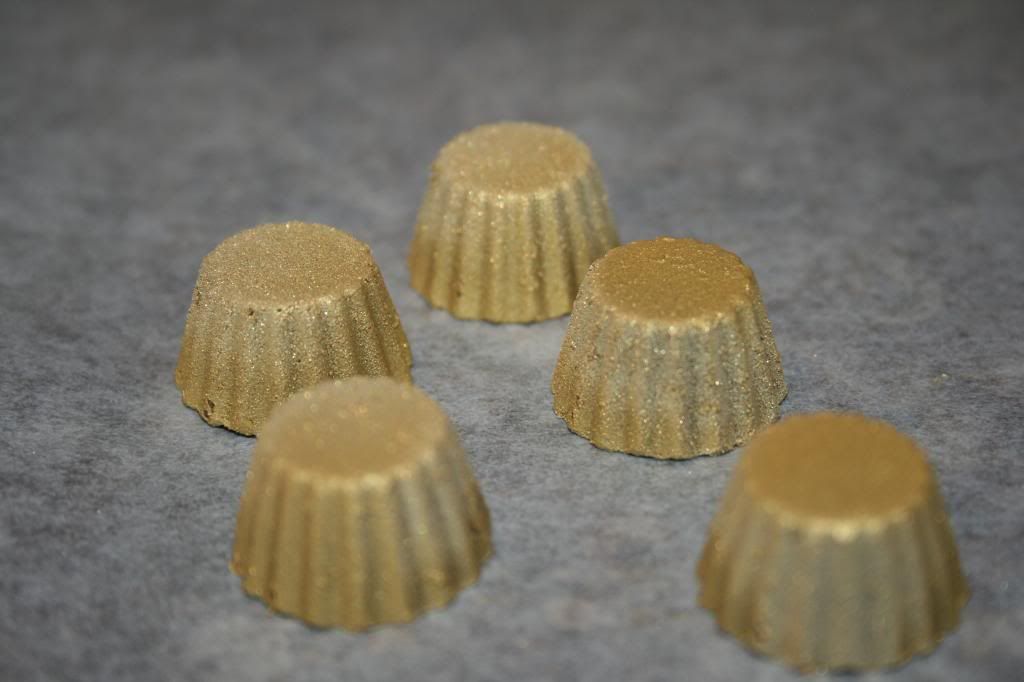


Let them dry and set them aside for when it is time for dipping.
{When you wash your pans (and your clothes), the spray will come right off. It is water soluble.}

Ok. It's time for dipping.
Dip away. It's a normal cake ball.
A piece of trouble shooting advice though...
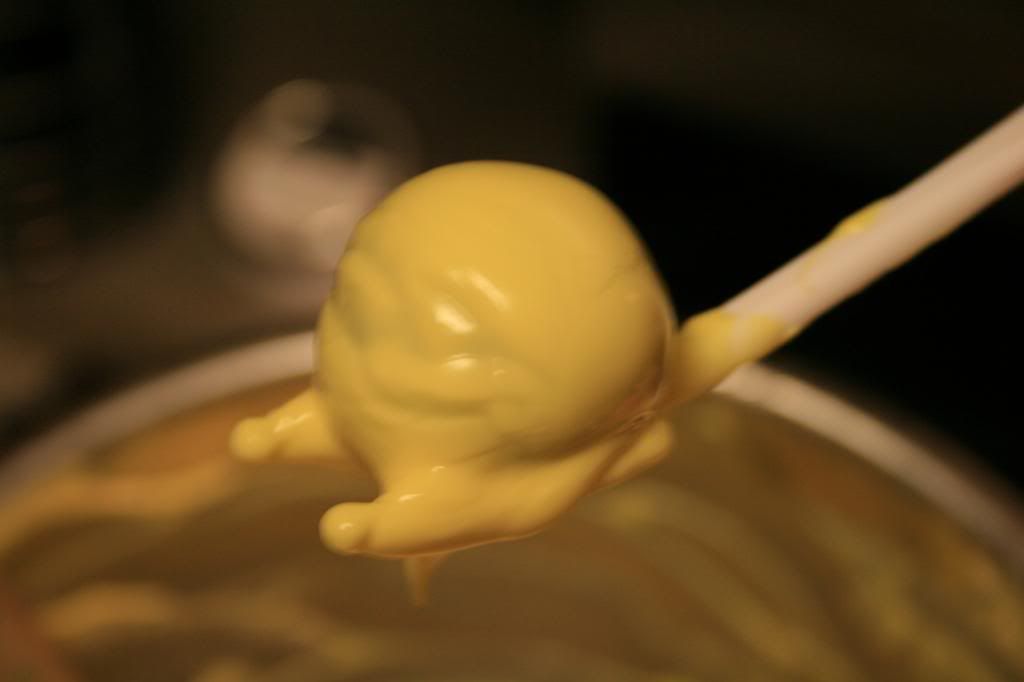
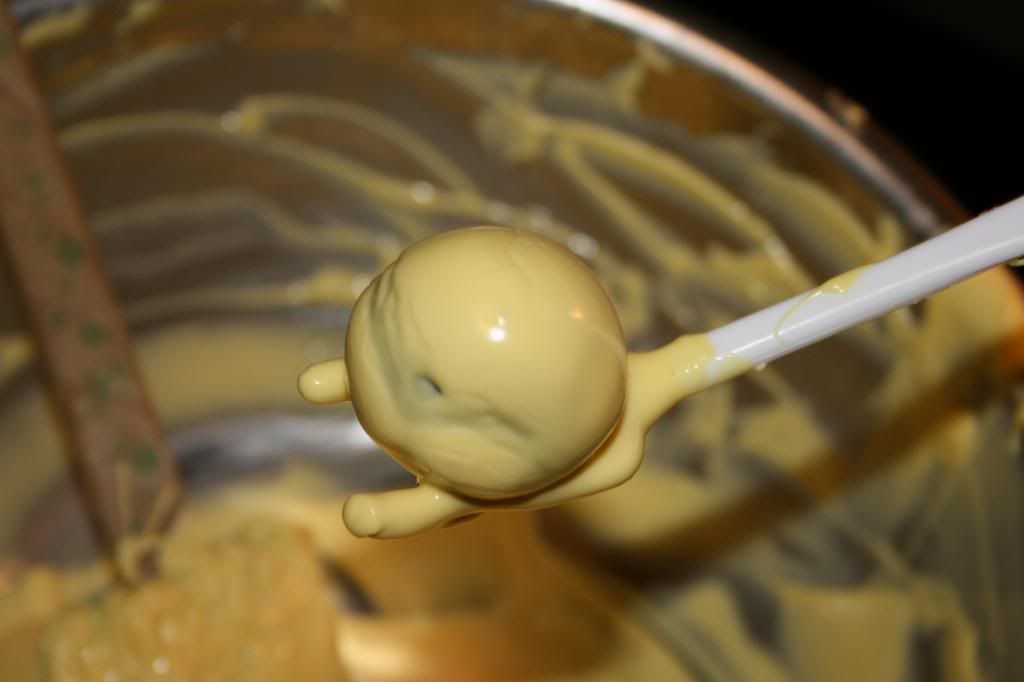
Have you ever gotten that sad rhino skin look on your cake balls?
Like thus.


Or thus.

It's annoying.
It's because of the chocolate melt. The melt that is touching the cake ball (that has been refrigerated) cools and hardens faster than the melt on the surface. This causes the melt to harden unevenly and part to start sliding off the cake ball causing ugliness. Boo.

Solution!
"Bounce" off the excess melt faster than you are probably doing it. Don't just let it drain off on it's own. I bounce the dipping tool against the edge of the bowl.
This does not allow the melt a chance to harden before the excess drips off.
The result?
Voila.
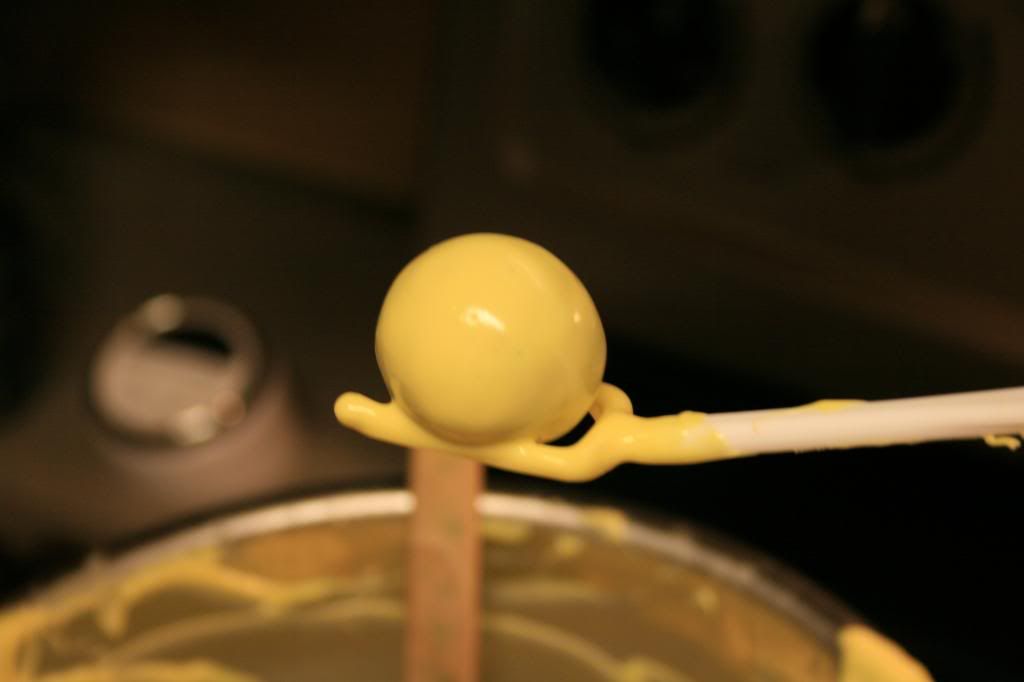


... and Voila (respectively).
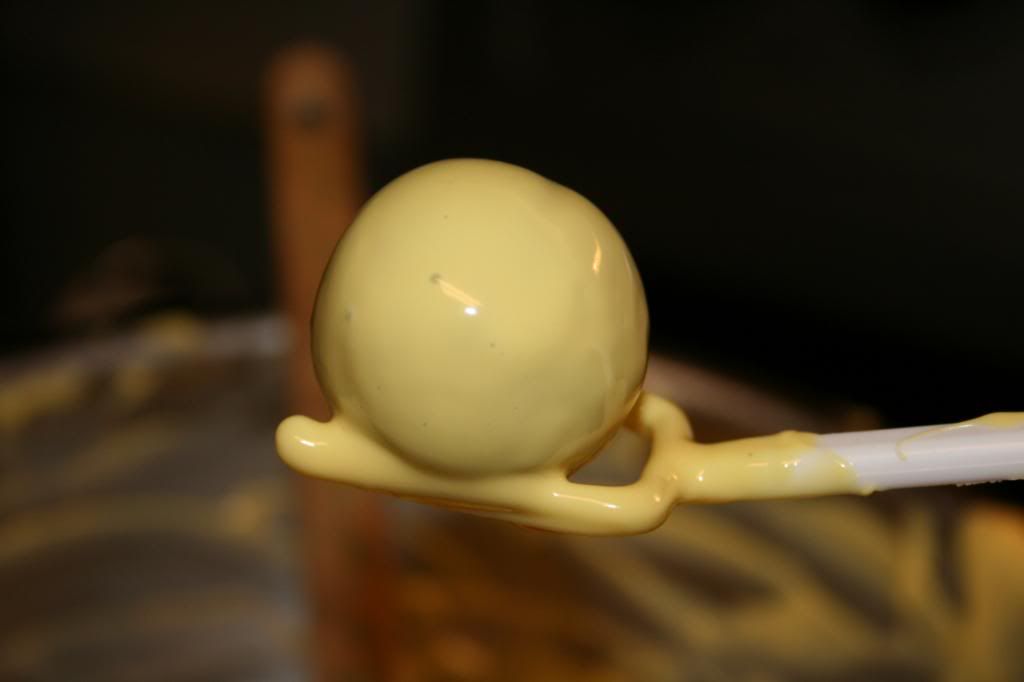
 

See how pretty! These are the same 2 cake balls in the previous ugly pictures. Yes! You can save them. Yes! It's a technique thing. Just redip them and shake the excess off faster. That's it. Yep, nothing to fret about.
... just make sure your melt is not too hot and your cake ball is not too cold as well. This will exacerbate the rhino skin complication. :) Also, thicker candy melts seem more apt to having this problem. ie: Wiltons.

I use a double pronged dipping tool. It's me favorite. This is how I do it. Not too shabby.


SO! Once you dip the cake balls, allow them to harden ever so slightly before topping it with a gold reese's mini. If you put it on right away, it may slide off the side or smoosh down in the melt too much and look weird.

After much love you should get thus.
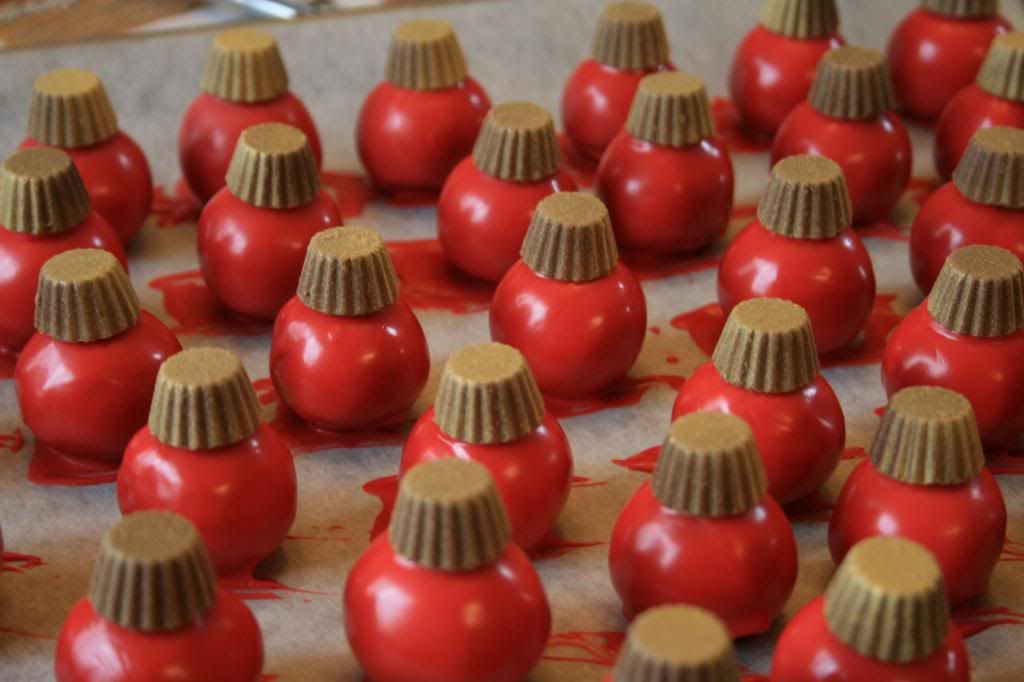


Yay! Now for the fun part. Don't allow them to loose their tackiness before doing this next step. It works best if they are slightly tacky....like sticky... not like shoddy. That reminds me of a funny story.
So get out your luster dust and brush now.
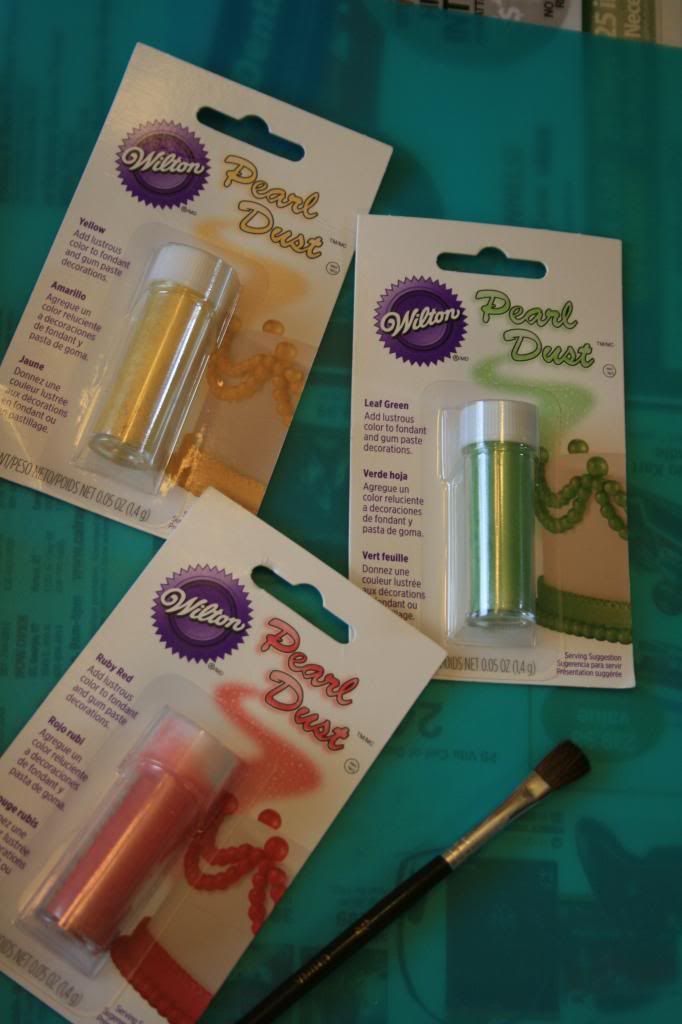


I am sending you to a link to unravel the mystery behind all the different types of food dusts out there. I found it highly educational and useful. Take a quick look before buying your dust please.
To get a metallic shiny sheen like quality to your candy melts or fondant, you can dust it with luster dust or pearl dust, same type of product. You can dust your cake ball with the powder as I did or you can mix your powder with a high alcohol liquid like vodka or lemon extract to make it more like a paint and get a richer more substantial metallic look.
So just dip your soft brush in the powder and go to town brushing it on the cake balls right on the pan they are sitting on. It goes a long way so be liberal with it and put on as much as you can. You can even go over it a second time if you want.
I used ruby red, yellow and leaf green luster dusts. You can even slightly change the end result on the color of your cake ball by using a different color of luster dust.... ie: brush red dust onto the yellow cake ball and you'll get an orangey sheen to your ball. :) Fun! Get out your color wheel and have fun!


You can sort of see the sheen of the cake ball in the picture below, more with the yellow. These pictures really don't do it justice. I'm really sorry. I didn't have time to play around with my camera to see if I could get better shots. Next time. :)


Allow the cake balls to completely harden. During this whole process you will want to handle the cake ball and reeses the least amount as possible so you don't rub off the powder and sheen. There's really no need to pick them up until you are ready to package them.


So now place all the cake balls in little candy cups. These are not cupcake liners. They are smaller. They are made for candy. They fit better for smaller cake balls like mine. I make my cake balls rather small because I find they have a more pleasing chocolate to cake ratio. I would say mine are about a tablespoons worth.
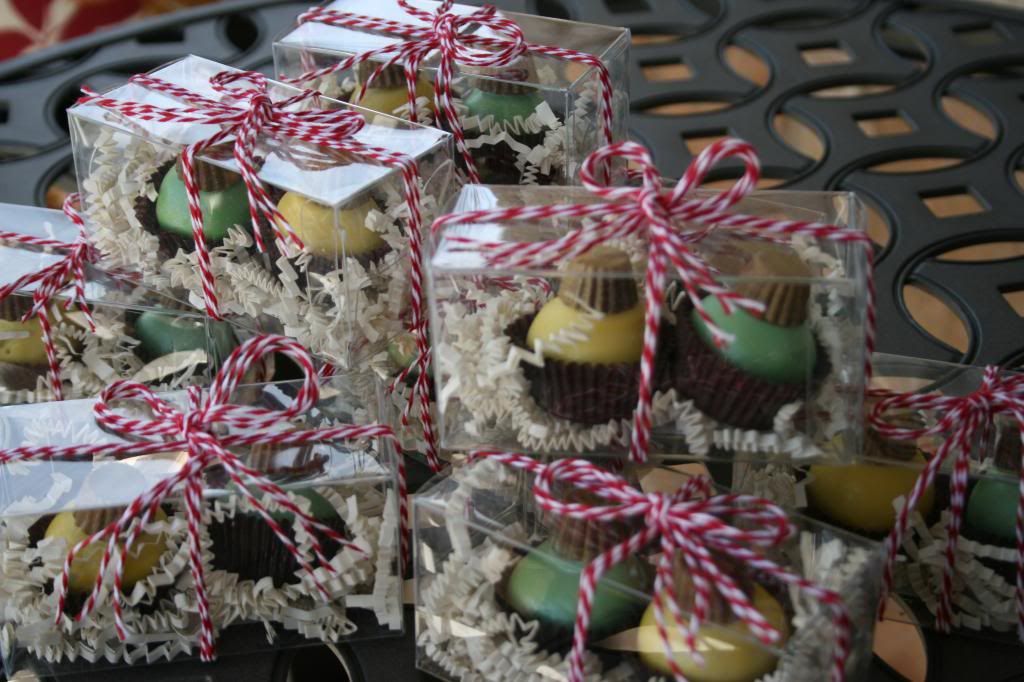


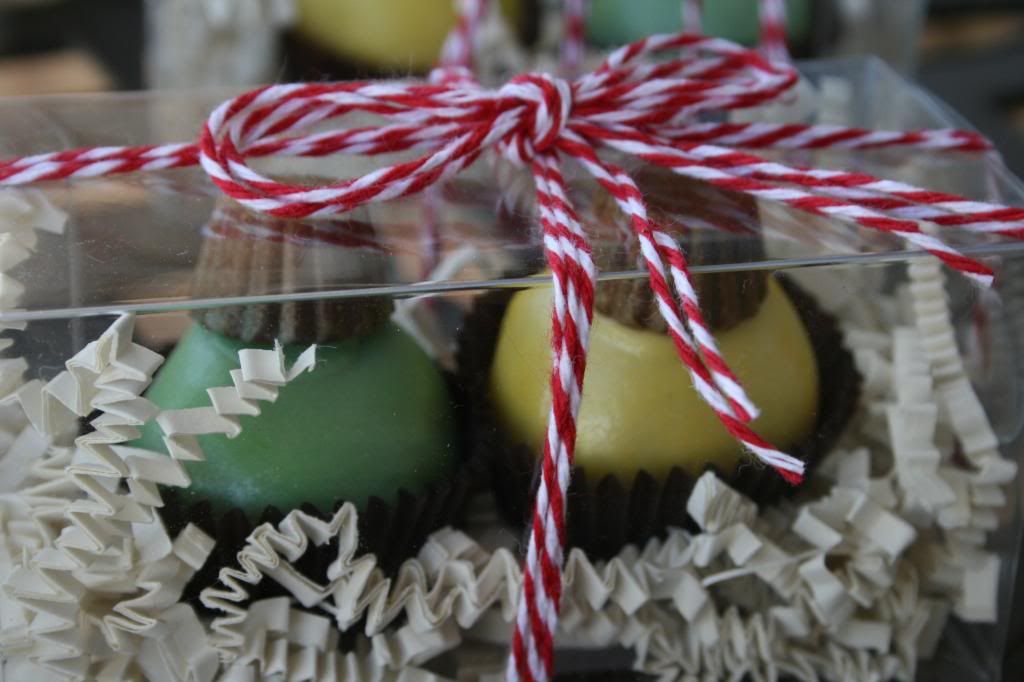
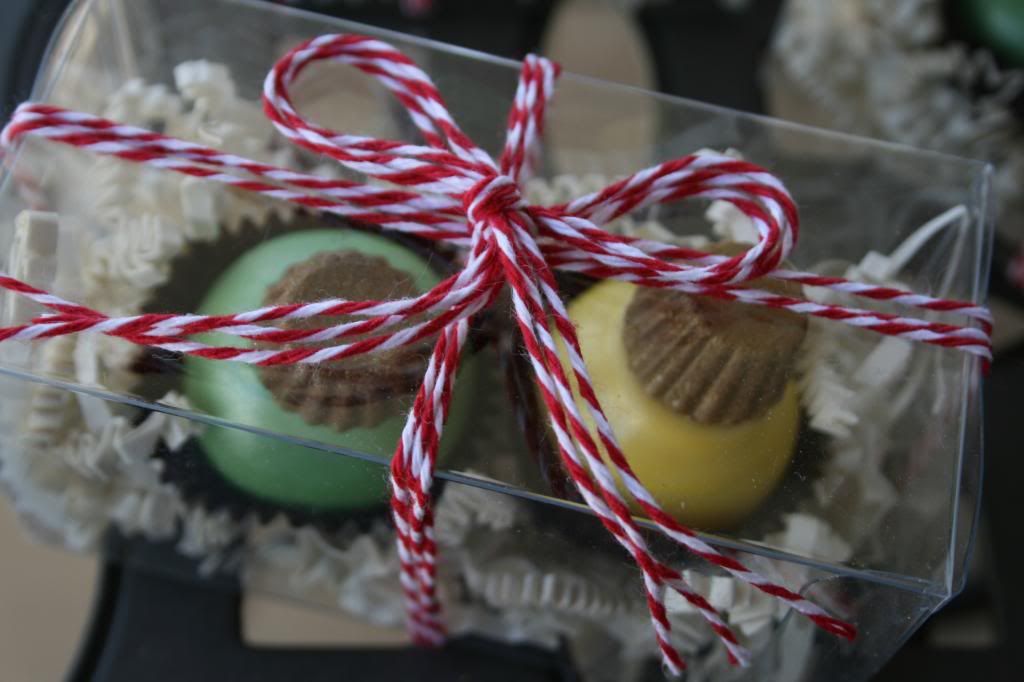
Finish your party favors or Christmas gifts by putting some shredded paper in the bottom of a box, delicately place in your ornaments and tie it off with some baker's twine. You'll see I tripled the amount of twine I use. I like to either double or triple it because it adds more character I think. :)
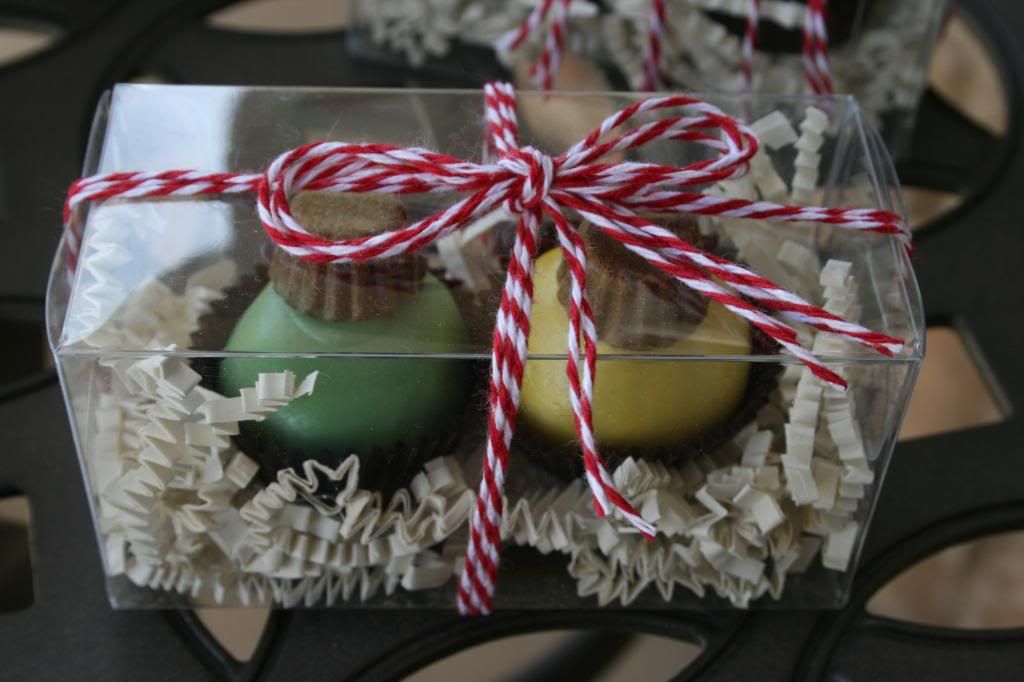


And there you have it. Christmas ornaments fit for your favorite peeps.
 TTFN.
{ That's "Ta Ta For Now" for all of you hermits that have never seen Winnie the Pooh}

Friday, November 9, 2012

Lollipop Birthday Party


I LOVE themed parties because it turns a good party into a memorable party.
This party was no exception! 


You only turn ONE once so why not start off those birthday parties with a POP!
 That's what my friend, Marci, thought too.
Nothing says "You're 1!" like a Lollipop Party!
  She did such an awesome job of organizing and creating an amazing party for her cute carrot-topped one year old, Lily.

I love her cute little personalized tutu outfit.

 
Join me for a walk down Lollipop Lane!
The theme colors were pretty pastels. As you will see, color is one thing this party did not lack!
 The entrance started the party off fabulously. I love festive entrances because it just tells you to get your party pants on 'cause we're not joking!

 
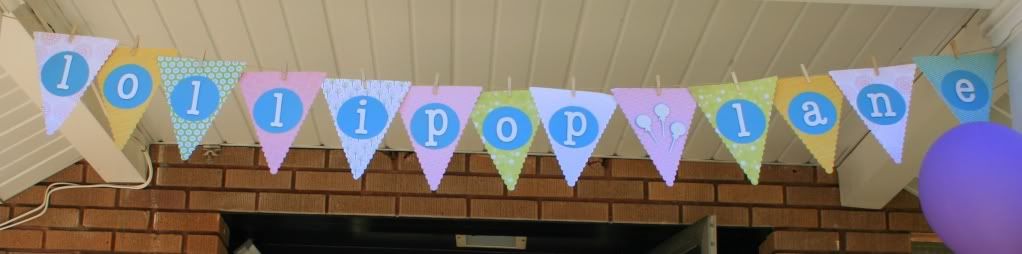
Marci made these pennants herself out of paper from a scrapbooking store. Made with love.


... and matching balloons. Can you really have a party without them?!


One of my favorite things about this party is that Marci used old fashioned candies to create a candy bar. Not a real candy bar but a candy candy bar... you know what I mean. I LOVE the concept of old fashioned candy and if I could make a living owning an old-fashioned candy store with the cute glass candy jars and little scoops and scales... I'm pretty sure I would pick up and do it right now. 
Yes, I like candy. How could you tell?


First Stop
Lemon Drops and Cake Pops


Made from a lemon pound cake, these cake pops have the perfect texture and flavor combo.
The lemon flavor is pure and fresh and perfectly balanced between the cake and buttercream frosting.
To tip onlookers of the delicious lemony surprise inside, I showcased the pastel vanilla candy coating with yellow jimmies in a whimsical swirl. Place some lemon drops in a jar with a cute little tag and insert that inside a ribbon lined foam ring filled with these little lemony daisies and you got yourself a lemon party. Sweet Huh?!


Next up is a picture of the cute little cake. I absolutely love these little 4 inch cakes because they are the perfect size for a personal cake, especially for one that a 1 year old is about to destroy!


This cake was covered in fondant and trimmed with a few different colored ribbons. To attach the fondant circles, just dip your finger into a little bit of water and spread it on the back of the fondant circle. This makes it tacky so it will now stick to the other fondant.You are ready to create a masterpiece.


Marci supplied me with this super cute lollipop candle that finished the cake off perfectly.


Vanilla dipped rice krispie treats are always a great addition to a dessert bar.


A huge hit with the kids was the automatic bubble blower. It blows 1,000 bubbles per minute! I need this for my dog!


I LOVE, LOVE, LOVE these pink and white lanterns. I'm trying to figure out how I can incorporate these around my house somehow. Come on, now every day's a party!


Another super cute idea was using clothes pins to clip pictures onto a clothes line for all to admire. These pictures were filled with a whole year of memories!
{Beware the wind...wind is not your friend with this} 
You could also do this concept with the wire zig-zagged down an antique shutter so it has some stability on one side.


These were one of the hottest items on the dessert table.
Mexican Chocolate Cake Pops in the shape of a "1".
Oh my goodness. These. are. tasty.
They were gone fast. We should have made more.
Mexican Chocolate Cake Recipe can be found HERE.


The other pops are chocolate dipped oreos. Mmmhmmm. I did.
Also so tasty.
Let me warn you that these should not be placed in direct sunlight. Yes, they will melt.
But only if they don't get eaten first....so you may be ok.


These little mini lollipops were the perfect size! It was so cute seeing tots walk around with a mini-me sized lollipop. Just one of those cute little details that totally makes the party.


And who doesn't love a good old fashioned sugar stick. Mmm... strawberry.
I love granulated sugar for suspending lollipops, candies and cake pops. It's recyclable {not for baking....that's gross. You can reuse it for another party though!} and cheap plus it works quite well and was perfect for a sugar-filled lollipop party! Why not?


This is one of my all-time favorite candies. The perfect amount of sour mixed with cherry flavor and sweet goodness. Mmm... mmm... good.  And really addicting. Be warned. The cherry sour.


And then comes the chocolate. Need I say more to you chocolate lovers out there?


I remember going to the penny candy store with my mom for movie nights and ALWAYS buying these little guys for about 5 cents. I miss the good ol' days of penny candies but I love the fact that they still make the candies I love from my childhood. Warm fuzzies. :)


I also remember how I would eat so many that my tongue would get raw. Oh, the sacrifices I was willing to make.


So these jelly belly candies aren't just your typical jelly belly candies. They are Snapple flavored people. SNAPPLE FLAVORS! Oh. my. goodness. I had a jelly belly bezoar in my stomach after this. 
You have to order them online but I am telling you that you should. Do it and try it and tell me how much you love them. You will never see me go nuts over chocolate like I do pure sugar. Gaahhhhh... drool.


Remember candy buttons {which until recently I thought were called "dots"} ?


They are pretty disgusting (I think they taste like food coloring) but they have such character and history that I can't help but love them. I remember loving these as a kid. What? It's pure sugar. Nothing wrong with that as a child.


We featured these cute-as-a-button candies {baha.... get it?} inside the circle of lollipop cookies. These here cookies received the approval of Marci's sister, who says she is quite a connoisseur of sugar cookies. I'll take it. :)


These are quite simple to decorate actually. You give the whole cookie a base coat of colored royal icing and allow to dry very slightly and then swirl in a second color of your choosing. Voila.
Be careful not to use too much icing on your base coat or it will overflow when you swirl in your second color. Just do a little less than you think you need.
Recipes of cookie dough and royal icing may be found HERE.


One of the funnest parts about themed parties is planning the little details. I remember sitting with Marci looking at millions of little baggy designs trying to decide which one would be the perfect compliment to a lollipop party. :)
These baggies were for kids of all ages to collect their candies in. These looked like little lollipop circles and had the same pastel color theme.


Marci's husband's favorite old fashioned candies are root beer barrels so those were a must since this party was really for him. ;)


In addition to the huge dessert table was a whole second table filled with food! Oh la la!
A party fit for a king...or queen!


I just love fruit. It's tasty. It's healthy. It's sweet and hydrating. A good alternative to those who don't want to stuff their faces in the candy bar.


Sandwiches, veggies, and chips. oh my!


I love large beverage jars for some reason. I don't own any... but I probably will soon. They just make me happy.


And here is the infamous Marci digging into the lemon cake pops before the party even began!


and that's me.


Here is Marci's husband, Jeremy, displaying their HOMEMADE Pinata!
I was so impressed. I'm pretty sure it took her hundreds of hours to make this. Maybe not that long but look at this thing! It's HUGE!
Marci goes big or goes home!


If you weren't sure, the birthday girl's name is Lily.  :)
I so love the detail in this pinata. Notice how they used 2 different tissue paper techniques. Fancy!
I think I will have to have her do a guest tutorial for us all. So awesome. What a talented lady.


Marci and Jeremy before the games began.


I still think it is hilarious that we choose one of the most dangerous games possible for children's birthday parties. Haha. I would give anything to have been a part of that first conversation inventing the pinata. 
"Yeah... and then after we fill the box with candy, we should hang it from a tree and put blind folds on the kids so they can't see anything and give them a large heavy bat to swing at it with!" 
But seriously, you really can't beat how much fun a pinata is at your birthday party.... even if you are only 1. I am sure Lily thought it was the best part of the party.


Here is a picture of the back of the pinata... notice something?
Yup. It's a GINORMOUS LOLLIPOP!


Luckily there were no casualties. Some near-misses, but no casualties. I call that a win.


And the moment we have all been waiting for!
Look how cute she is!


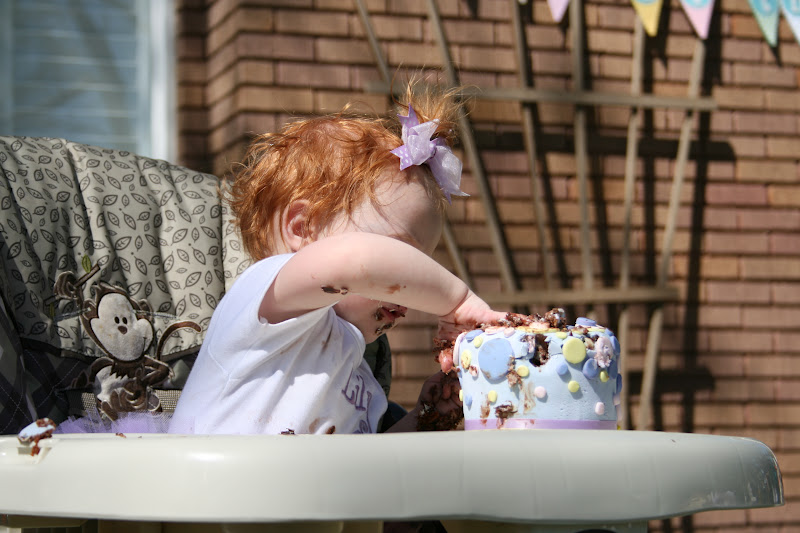
She had no problem digging right in (once mom helped puncture the fondant barricade).


Sweet goatee!


and some cake in the eye, why not?


Besides being all over the table and Lily, most of the cake was actually eaten by a certain sneaky aunt. ;)


My personal favorite pic is of her eating the cardboard.... the cake was THAT good!
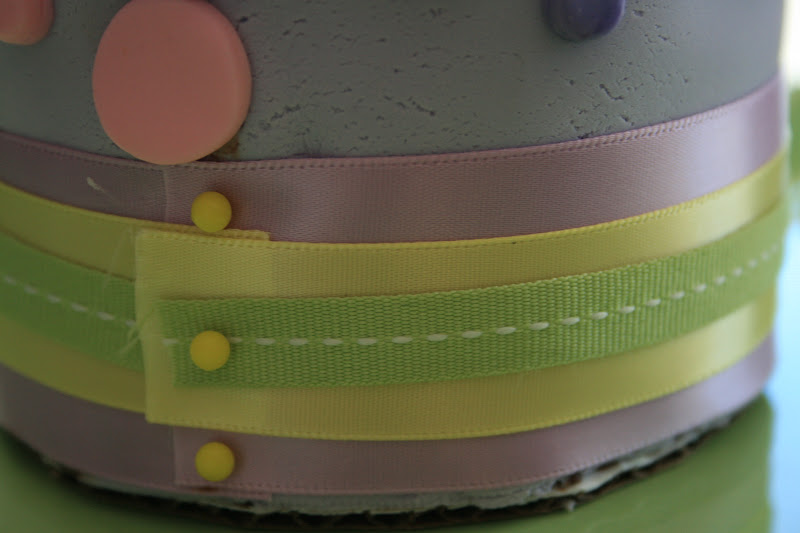
So I just wanted to show you how I secured the ribbon to the cake. It all depends on the type of ribbon you have. I had a really silky ribbon so I couldn't glue it to the fondant with some icing. You can get some sort of fasteners that look like pearls made for wedding cakes but I didn't have time to go get any so I actually used some long sewing pins (wash them first if you do this). We just took them out when it was time for Lily to dig in.


Awwwww.......


The End