Showing posts with label Valentine's Day. Show all posts

Saturday, October 13, 2012

Chocolate Ganache Cake with Raspberry Filling... and Some Strawberries on Top.

This here is a rich chocolate cake with raspberry filling covered in a dark chocolate whipped ganache and topped with fresh strawberries.


My friend, Marci, wanted me to replicate her wedding cake for her anniversary. She and her husband never got to eat their wedding cake due to a fun family tradition.... actually it's probably closer to a bitter family rivalry. ;D
He continues to speak of it to this day so she decided it was finally time to give him a taste of his own wedding cake.
So I did my best.

Here she be.

It looked so tasty...
These pictures don't do it justice.
I impressed myself.
I was tempted to sneak a piece. I doubt they would have noticed.

This cake was simple to make. Make your chocolate cake in 8 or 9 inch round pans. Tort your 2 layers so that you now have 4 layers. Place a layer on your cake board (using a bit of ganache to glue it down) and pipe a chocolate ganache dam around the whole edge. I whipped my ganache after cooling it down in the refrigerator to make it more of a buttercream frosting consistency but you can leave the ganache smooth and silky too (it makes the dam a bit more difficult though). For the raspberry filling, you can make your own or you can use a store bought jam of your favorite kind. I was going to attempt a home made raspberry filling (never done it before) but just ran out of time so I used Smuckers Simply Fruit Red Raspberry. It's the only kind of jam my husband will eat so I figure it must be pretty good. Spread the amount of raspberry filling you would like inside the dam. This amount is a personal decision. Add what feels right and not a bit more. :)
Place another layer on top and repeat until you have placed your last layer on top. Cover the whole cake in the ganache. While the ganache is still wet, place your curls on the cake (see below how to make the curls). If your ganache is dried already, no problem, just dab a little fresh ganache on the curl before sticking it to the cake. Use a skewer to transfer the chocolate curls around instead of touching them directly. The heat from your fingers will melt the chocolate and make a gooey mess.


See those cute little chocolate curls? They were almost the death of me. Either I am just not at all skilled in this area or these are actually really hard to make. These aren't even the chocolate curls I was going for! I wanted some big curls and this is the best I could muster.
{At least they were pretty cute too}
Here is what I did to get these curls. {I will work on getting the bigger curls another day}.
You take 3 oz of semi-sweet chocolate chips and add a tablespoon of shortening. Microwave just enough to melt the chips. Stir until smooth. Spread the melt onto the back of a flat cookie sheet and, using an offset spatula, spread as thin as possible. {You can spread an entire side of a cookie sheet with the 3 oz.}
Allow the chocolate to harden a bit. Depending on the temperature of your kitchen, you may need to put it in the fridge (I did). Once the chocolate is kind of dry to the touch but not super hard, try scraping off a curl using a flat utensil. I used a brownie cutter/server and it seemed to be a good size.
Press down hard and push forward while providing continuous pressure. If it curls... awesome! Stop when you have the size of curl you want. If it breaks in small pieces then your chocolate is too hard and needs to warm up a tiny bit. You can do this on the counter if it is warm or in a low temp oven. If it scrapes off but isn't curling, it is too soft. Cool it down a bit somehow (fridge for me).
Be careful, these curls are fragile. As you make your curls you may want to keep them refrigerated so they don't melt. Use toothpicks/skewers to move them around.
I struggled a bit with just getting these so I will be looking into this and practicing different methods in the future. I definitely hope there is a better one out there.


Last step:
Pile some strawberries on top. Voila!
Magnifico!
It turned out pretty dang irresistible looking and the recipients gave their approval.
This would also make an absolutely fabulous Valentine's treat.... how romaaantic. Awww... <3

Chocolate Cake and Ganache Recipe HERE

Tuesday, February 14, 2012

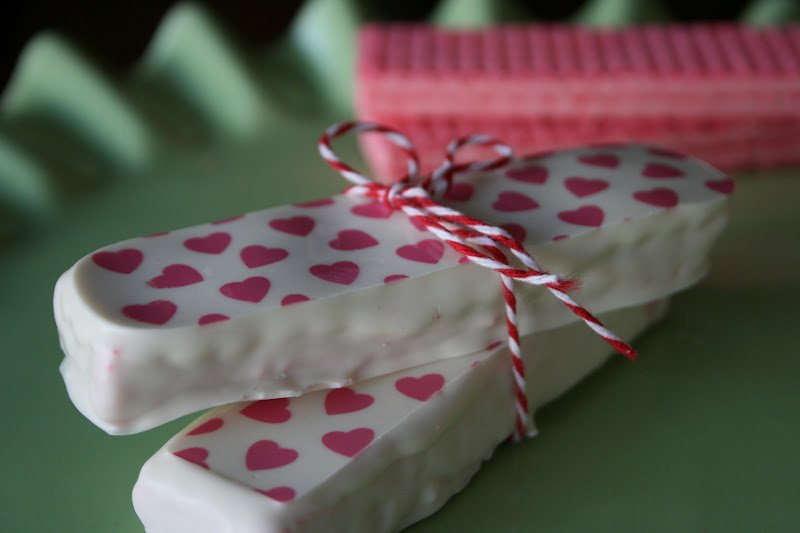
Love Bars for Valentine's Day

L is for the lovely lemon tarts. 
O is for the oreo truffle hearts.
V is very, very, extra delicious and cherry.
E is even more than any treat that you adore.

Bake is all that I can do for you.
Cake is more than just a treat for two.
Two cups sugar can make it,      
Take my tart but please don't break it.
Dessert was made for me and you.

'Tis the season of love.

It's that time of year to show those you love just how much you really appreciate them.
There really are a million ways to show them but nothing says "I Love You"
like a homemade treat made by you with love.
Here is a quick and easy dessert you can throw together for your favorite someone
 or give with Valentine notes to all you admire.

I call them Love Bars.


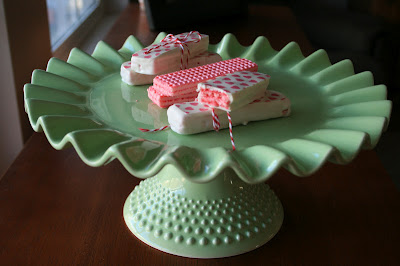
Pink and White really are just the cutest combo
(and even better when paired with this stand!)
So simple yet so cute.


Amazingly awesome dessert stand I just can't get over provided by my Dad and MJ.
Thank you a million!

Love Bars

What you need:
Wafers (I used Strawberry because they are pink....and strawberry)
White Melting Wafers/Chocolate (I used Guittard Vanilla A' Peels from Orson Gygis)
1 Transfer sheet with Valentine design (You can get these at local craft/bakery stores or online)
Double Boiler
Dipping Tool (Can use a plastic fork with 2 middle prongs broken off)
Parchment Paper
Baking Sheet

Bring an inch or two of water in a double boiler to a simmer and then remove from heat. Place the melting chocolate in the top boiler pan and place on the bottom pan. Allow the chocolate to melt slowly and stir frequently to distribute the heat. In the meantime, place parchment paper on one or two baking sheets (depending on how many you want to make) and take your wafers out of the bag. Remove your transfer sheet from the plastic cover. Use scissors to cut the transfer sheet into the rectangle shape of the wafers. Make enough for each wafer. Try not to cut a lot of excess around the sides of the wafers because those transfer sheets can be expensive ($3-7 each 8 x 11 sheet). Once chocolate is melted, put a wafer in the melt and gently cover it with chocolate completely. Remove the wafer from the melt by placing dipping tool underneath wafer and lifting up. Allow excess to drip off back into the bowl for about 5 seconds. Very lightly scrape a little bit of the excess melt off the bottom of the wafer while transferring over to the parchment. Carefully, place the wafer on the parchment and slide tool out from underneath. (This can take a little practice but you will get it as you figure out what technique works best for you). Repeat for all of your wafers (if dipping more than 20, stop there and continue on to the next part then come back and do the rest).
Take a transfer sheet piece and gently place (cocoa butter side down- it will feel ever so slightly rougher than the top) on a covered wafer. Very lightly smooth out the surface of the transfer sheet onto the chocolate. Make sure all of the transfer sheet is touching the chocolate. Don't push hard or you will displace your chocolate and it will squish out from under the sheet. Repeat with all wafers. Allow to dry (can put in fridge if you need to speed up the process). 
Once dry, carefully remove the plastic backing by lifting up on the plastic and slowly peeling back from chocolate. Make sure you remove the plastic from ALL the wafers. It is usually clear so don't forget any! 
  See the plastic? Exactly.....make sure you remove it because your love peeps won't!

Tie two Love Bars together with some pink or red twine
 and attach a Love Tag to it for an extra little touch. There you have it. 
Love Bars.


These were SUPER Yummy. More than I even thought! You need to try them....now.
You can jazz them up with any transfer sheet for any occasion.
Enjoy.

Monday, February 21, 2011

Valentine's Cookies

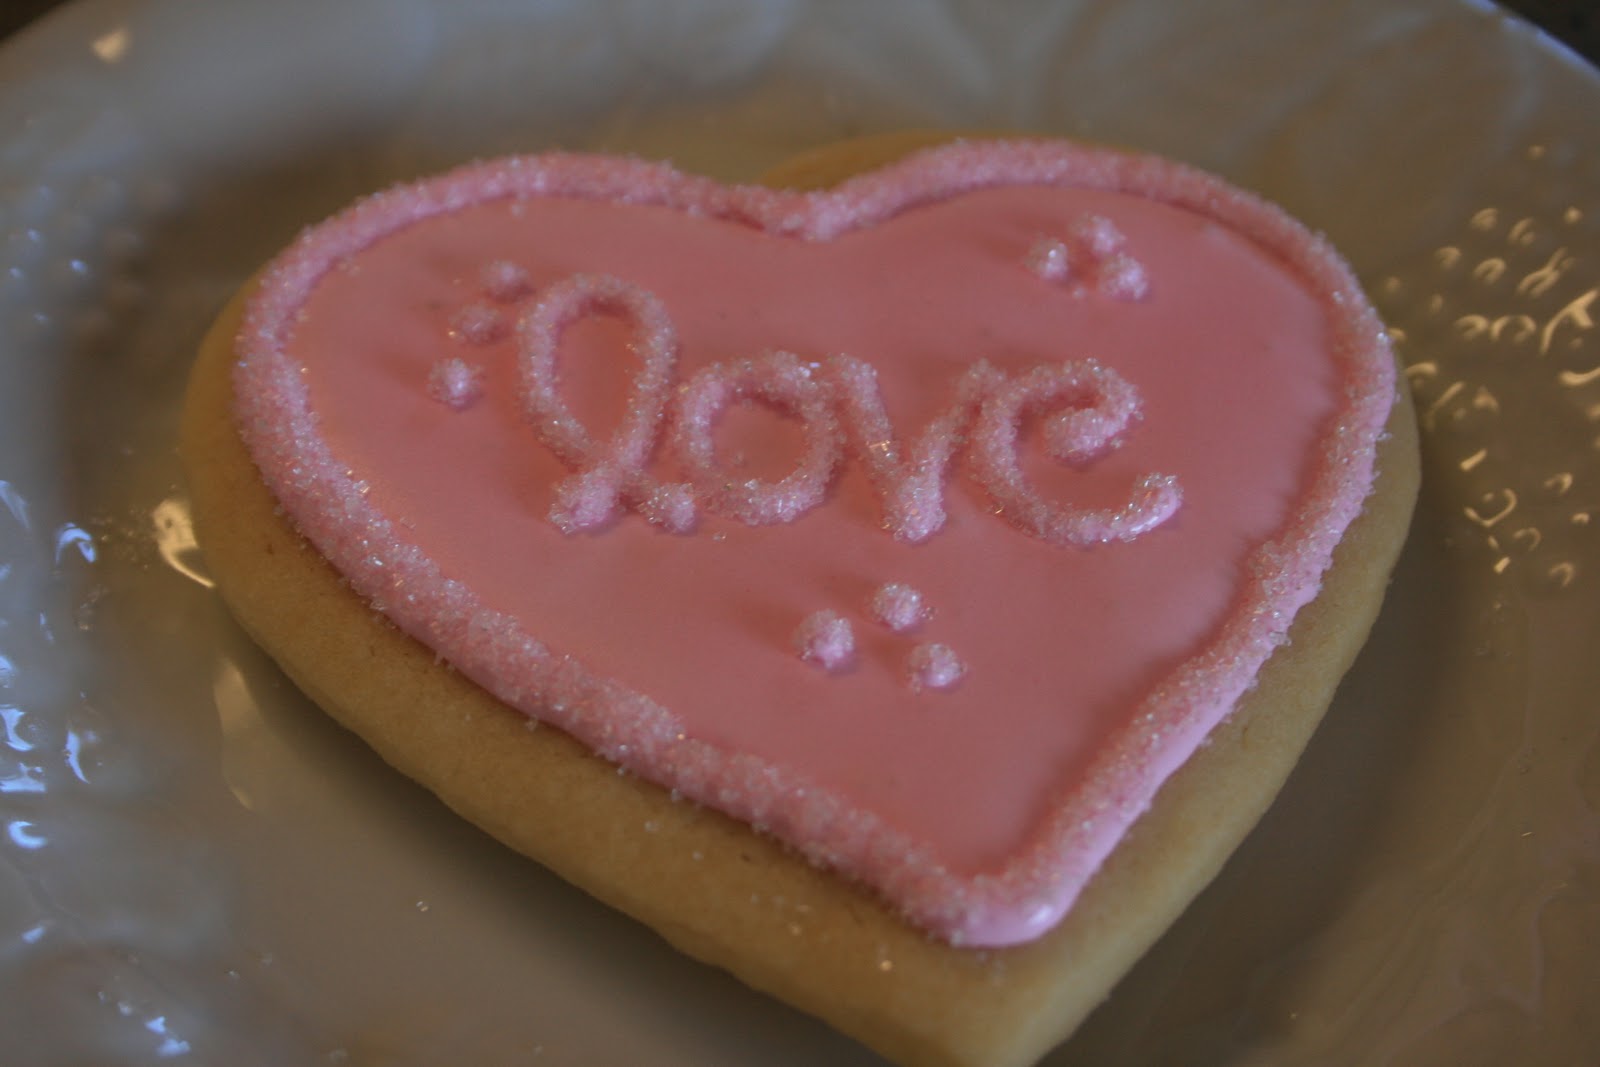
Sorry it has taken me so long to post my valentine cookies I made for....wait for it....you guessed it!Valentine's Day! It was a new experience for me and a ton of fun! I loved it. I will definitely be making some more designer cookies soon!
Ok, well these aren't cookies but I did try to make some petit four hearts and it was a complete disaster! These were the only few that looked even remotely decent. I'll try them again. I don't give up that easy.
Now onto the cookies!


Sorry the pictures look so bad. I tend to do my baking at night and so I have artificial lighting.....plus I know close to nothing about cameras. Boo.

Designer Sugar Cookies
Ingredients
⅔ cups Shortening
¾ cups Sugar
4 tsp Milk
1 tspVanilla
1 wholeEgg
9 oz (2 cups) Flour
1½ tsp Baking Powder
¼ tsp Salt (I use fine crystal sea salt)

Mix the shortening and sugar with a mixer until well blended. Add the milk, vanilla, eggs and blend. Gradually add the rest of the dry ingredients until the mix forms a soft dough. More flour may be needed for rolling out the dough.

Roll out to about ¼ to 1/3 inch thickness. This makes 12 large cookie shapes. Bake at 350 degrees for 7 minutes (for small cutters) to 9 minutes (for large cutters). You can freeze these in airtight containers for several months before icing and serving.

Royal Icing by sweet Dani B:
Yields: 2.5 cups

¼ cup meringue powder
1/2 cup cold water
1 lb powdered sugar
Squeeze bottles
Food coloring gel

Using a handmixer, beat together the meringue powder and the water until you see good trails where the whisk has been. Slowly beat in sugar until well blended and you see trails again. Mix food coloring in to desired shade.
For writing, add more powdered sugar until correct consistency is achieved (so it doesn’t run) and use a small writing tip.
The natural color is off-white. If you want this icing to be white you have to color it white with a food color dye.