Showing posts with label Food. Show all posts

Saturday, December 29, 2012

How to Reheat Pasta


Have you ever tried to reheat your pasta and cream sauce only to get a greasy separated mess? 
Who hasn't?! I hate it. It's gross and it's almost not worth eating.

Since I just posted the Olive Garden Fettuccine Alfredo recipe yesterday, and this recipe makes a lot (at least for a family of two), it behooveth me to share with you how I store and reheat cream-based pasta dishes. I love me some pasta (that's an understatement) and have a very simple tried and true method that never fails to reproduce delicious pasta meals the day after you prepare them. There are many ways to reheat them, but I like simple so this is probably the simplest way of doing it (plus it's good and it works).

So here are some rules to reheating cream-based pasta dishes
{these do not necessarily apply to marinara sauces}

Rule #1: 
DO NOT, I repeat, DO NOT mix your pasta and your cream sauce together when you store them! 
This is for multiple reasons: pasta absorbs sauce as it sits so you have less coating and dryer, softer pasta, also, using my method to reheat sauce, it can't be mixed. So store your pasta apart from your sauce in airtight containers.

Rule #2:
Reheating the Pasta: Place your desired amount of pasta in a bowl and put a very small amount of water on it (you don't need much at all). Using your fingers, toss the pasta around so it all gets coated with the water and loosens up. This allows the pasta to be somewhat steamed and stay moist while cooking. Cover it loosely with a lid or another plate (whatever looks convenient). Cook in the microwave for 20-30 seconds at a time and toss in between until it is heated thoroughly. Brava.

Rule #3:
Reheating the Sauce: Place your sauce in a microwaveable bowl and cover loosely. Microwave for 15-20 seconds at a time stirring thoroughly in between each heating, When you heat it and take it out of the microwave you will notice it has separated. "Crap!" you say to yourself. Fret not my hungry flustered friends. Just stir it until it comes back together completely.... trust me, it will. Sometimes it takes longer than others but it should not take more than a couple minutes. Our quest is to allow all the ingredients to melt and recreate an emulsion by stirring the water and oil components together. This happens at different rates depending on the ingredient so be patient.
{There is another method that involves adding egg, which acts as an emulsifier, and this method may be better for reheating large amounts or if you are serving super picky eaters}
Once sauce comes together, heat it more and repeat steps until the sauce is as hot as you will want it. Magnifique.

Rule #4:
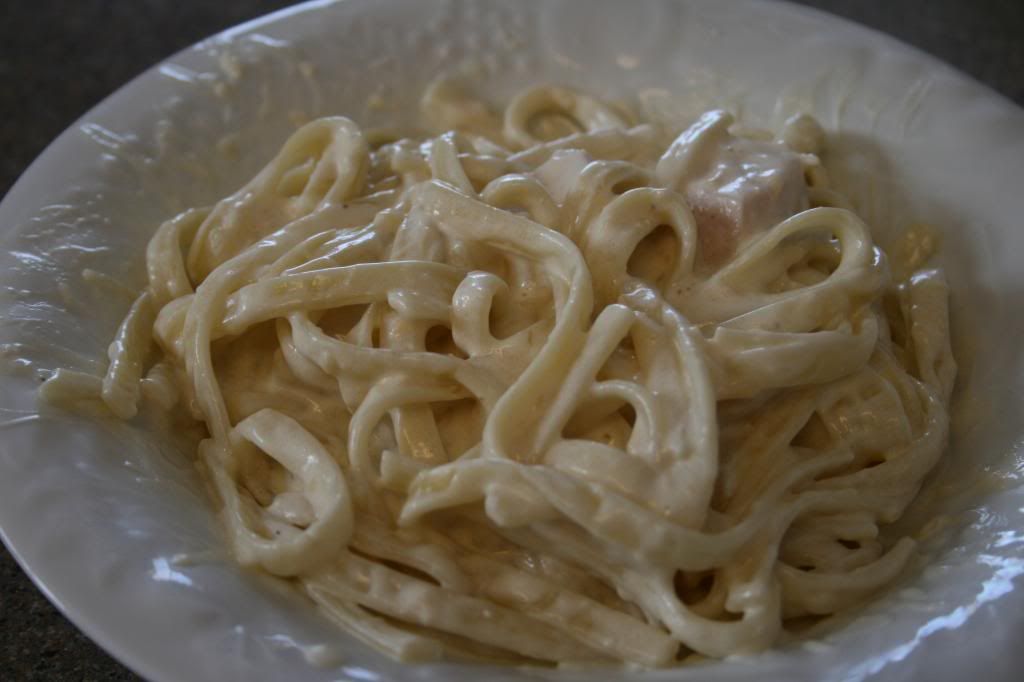
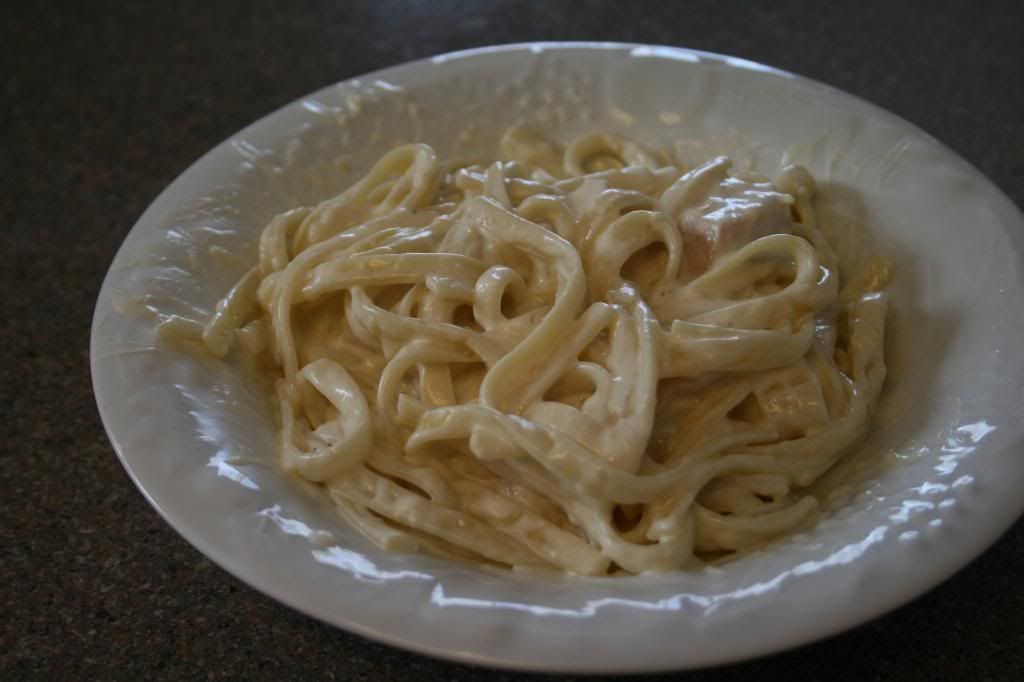
Assemble your dish. Place your pasta in your bowl and cover it with an unnecessary amount of sauce.

Rule #5:
Don't you dare think about sticking it back in the microwave because you decided at the last minute that you want it hotter. Nuh uh! You made your choice, buddy, and now you have to live with it.
What do you think will happen to your sauce if you heat it again?
{Go ahead. Try it and let the tears flow. Don't say I didn't warn you.}

Rule #6:
Sing praises to Sara and enjoy.

Friday, December 28, 2012

Olive Garden's Fettuccine Alfredo Recipe


One of Ben's favorite dishes is the Fettuccine Alfredo from Olive Garden. Their Alfredo sauce is just like no other. We have yet to find a better one.
His appetite has constantly decreased, especially over the last week, so I decided to resurrect some of his favorite recipes in hopes to ruse him into thinking he likes food again. The one that sounded tolerable today was Chicken Fettuccine Alfredo.


We had attempted a recipe quite a while ago and it was pretty good- well, it was the best one we had made at home- but it wasn't quite there. The other day I found a recipe that I decided to give a go. It tastes exactly the same as what I remember from the restaurant! I am happy I found the keeper.
 I would be proud to serve it to guests. :)
Here she be.
Olive Garden's Fettuccine Alfredo 
Serves: 6-8

Ingredients
1/2 cup unsalted butter
2 tablespoons cream cheese
1 pint heavy cream
1 teaspoon garlic powder (not salt)
salt to taste (~ 2 pinches)
black pepper to taste (~1 pinch)
2/3 cup fresh Parmesan cheese grated very fine
1 lb fettuccine pasta, prepared as directed
Chicken- boneless, skinless breast (optional)

Directions
If adding chicken, heat oven to 350 degrees. Start water to boil for pasta and cook as directed. Place chicken breasts on a baking pan with slotted grooves or a rack on a baking sheet. Salt as preferred on both sides and bake for 16 minutes turning have way through. Meanwhile. over medium heat, melt butter in a medium saucepan. When butter is melted, add cream cheese. When cream cheese has softened a bit, add heavy cream, garlic, salt and pepper. Simmer over low-medium heat for 15-20 (20 if you have time). Stir regularly. Remove from heat and add the Parmesan cheese. Stir, allowing cheese to melt in the mixture. Serve immediately over hot fettuccine noodles. Slice chicken and serve on top. Voila.

Now that's delectable! These are the times when your eyes are always bigger than your stomach!
What I love about this recipe is that it takes less than half an hour from start to finish! I'll say!
Also, this is my favorite way of cooking chicken if you want it tender and juicy. It's a miracle method and you can cook a lot at one time. Try it.
Here is where I found the original recipe. I just added some information to this great recipe.

Monday, September 24, 2012

Ummm.....this post is really about real food....really {Sausage Rolls}


...but it involves puff pastry so I am ok to post it.

So, this is one of those things that you hate to admit like loving the spice girls or being afraid of the dark in a real but illogical way. (...if you are really afraid that something is going to grab or eat your foot while it is dangling off the bed..... why are you in the room?!)
But I digress.
I hate to admit it but I love sausage rolls. 
It's kind of gross and I know it, but I can't help it.
I may not have told you but in my youth I actually worked at a French Pastry Bakery (...that happened to be owned by Scottish people) and not in a cool, "I used to make pastries and desserts and now I have skills" kind of way. More of the, "I used to sell and eat desserts and now I have love handles" kind of way. 
Actually, I didn't eat the desserts. I ate the sausage rolls. Back to my point.
Sausage Rolls.


We are just going to breeze on by the fact that I have no idea what is in my sausage and focus on that delicious flaky golden puffy goodness surrounding delectably sweet maple sausage.
Gahhhhh....... 
Makes me drool a little bit.
Think this is a treat you have to save for that special occasion and purchase fresh in the morning from the bakery at least 15 minutes away? 
No sireee!
You too can have delicious flaky goodness at home!
And it is a thousand times easier than I ever thought it could be.
Sometimes I forget about the modern miracle known as the freezer and the fact that I can purchase certain ingredients for my creations made possible by the concept of "semi-homemade".
Thanks Sandra.
Some things MUST be made from scratch but for this application, frozen is perfectly fine!
I am practical and it makes life great!
{But please don't buy frozen french macarons. don't.}
You sure could make this all gourmet and from scratch by-the-by! 
More power to ya, honey, if you are gourmetizing a sausage roll!

Let us continue.
There really isn't much to it at all.

DISCLAIMER: Ugly picture immediately below. 
If you are pregnant or vegetarian/vegan, avert your eyes now and scroll down about 10 clicks of the down arrow.

Unroll your frozen pastry and cut along folds to make 6 of these long strips.
Make 6 sausage loaves and place in the middle of your pastry. 
{I actually used 2 sausage links as shown below but would not use links next time if possible because a non-link sausage loaf would fill the pastry space much better I think. Maple only came in links at my store so I just tried the links (cuz there no way you gonna make me give up my maple. nuh, uh.). It turned out completely delicious but it just looked kind of funny inside and was a little difficult to eat. It worked but was just not optimal. If you do go the link route, use 3 links to fill the space because there is a lot of poofy pastry!}


 Use egg wash to seal the edges as you fold the top and bottom together and pinch, then fold the sides together and pinch. Like so.


Brush egg wash over the whole roll.
Pop in oven at 400 degrees for 15 minutes and out pops a beautiful golden poofy poof. 
Like so.


Really?! 
That's it!?
Yes, my friend. I mean, No, my friend.
WAIT FOR IT TO COOL DOWN!
Or else the sausagey magma will burn your face right off and you will be cursing my name.
Don't say I didn't warn you.
Now enjoy.


Just look at how gorgeous and perfect that golden crust is! Egg wash magic!

Anyway, I am blaming my love of sausage rolls on the Scottish blood in me.
{Shout out to all the Birrells, O'Carrolls and Campbells!}

Hey! Want to know something SUPER cool?! These sausage rolls will freeze well (unbaked)! This makes a great make-ahead meal!
Sausage Rolls
Yields: 6 sausage rolls (1 serving each)

Ingredients:
Pepperidge Farm Puff Pastry Frozen- 2 sheets (located by the frozen pie stuff)
Maple Sausage (or your favorite flavor)
1 egg, beaten

Preheat oven to 400 degrees. Unfold puff pastry and cut along folds to make 6 pieces. Allow your puff pastry to thaw enough to be foldable and not breakable. Form your sausage into 6 mini loaves and place 1in the middle of each pastry strip. 
{I actually used 2 sausage links but would not use links next time if possible because a non-link sausage loaf would fill the pastry space better. Maple only came in links at my store so I just tried links and it turned out completely delicious but it just looked kind of funny inside and was a little difficult to eat. It worked but was just not optimal. If you do go the link route, use 3 links to fill the space because there is a lot of poofy pastry!}
Fold the top and bottom edge over the links and seal with some egg wash (i just used my finger to spread it on). Squeeze the ends together real good. Now seal with egg and pinch the sides together. Brush egg on top of the whole sausage roll. Place on an ungreased cookie sheet.
Bake at 400 degrees for about 15 minutes. Watch your pastry after about 10 minutes to make sure it doesn't burn. It will be done when it looks puffy and golden. Yes, the sausage is cooked inside (maybe it wouldn't be if you put A TON of sausage in). I wasn't sure if the sausage would be done at the same time as the puff pastry but it was perfect! Remove from sheet with a spatula.
PLEASE allow to cool or else the  juicy sausage will burn your face off. I warned you.
That's it! Now go share it.