Showing posts with label Gifts and Garnish. Show all posts

Saturday, January 5, 2013

Peanut Butter Bars


There are certain things in this life that are just meant to be together.

Salt and Pepper
Jack and Jill
Yin and Yang
Macaroni and Cheese

Well, in the world of sweets you can bet your knickers that one of those pairings is
Peanut Butter and Chocolate
 Mmmm....
Who doesn't just love the combination of creamy peanut butter and rich chocolate?
{All of you who overdosed on Reese's cups and now can't stand to eat them don't count...}

Point being, it's pretty good and my husband, Ben, loves the peanut butter/chocolate duo. He requested I make some peanut butter bars... "the kind with oatmeal in the bottom".
And so it began.
I whipped out a ward cookbook and knew there was going to be a gem in there. Peanut butter bars are one of those desserts you can expect most people in your neighborhood to be able to make. Everyone has a different recipe and they are somehow all amazing.

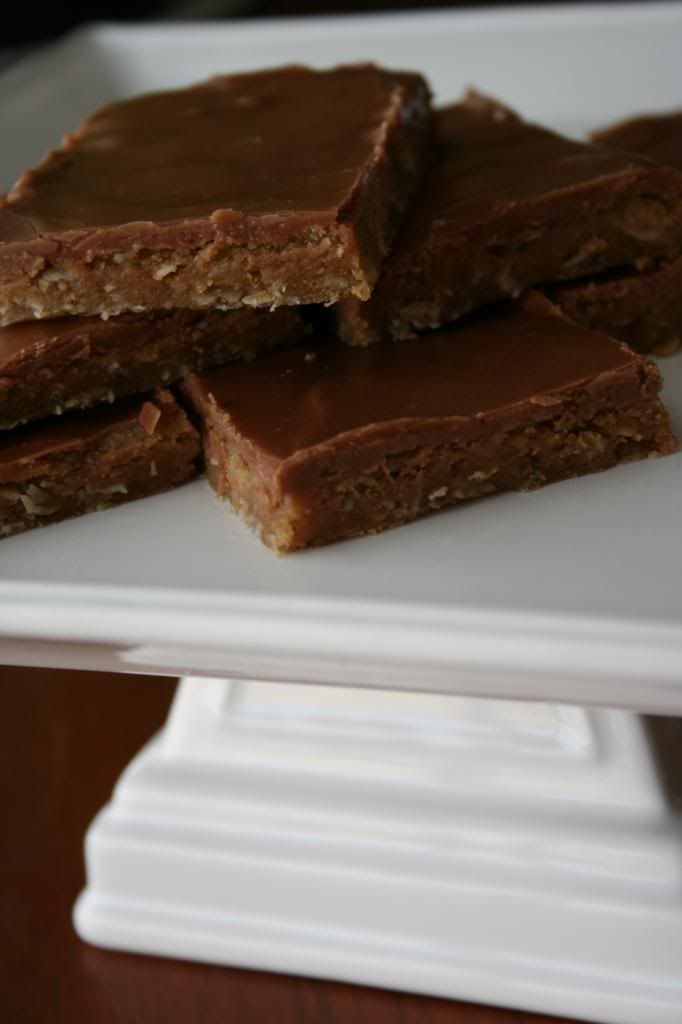
Here they be in all their glory.
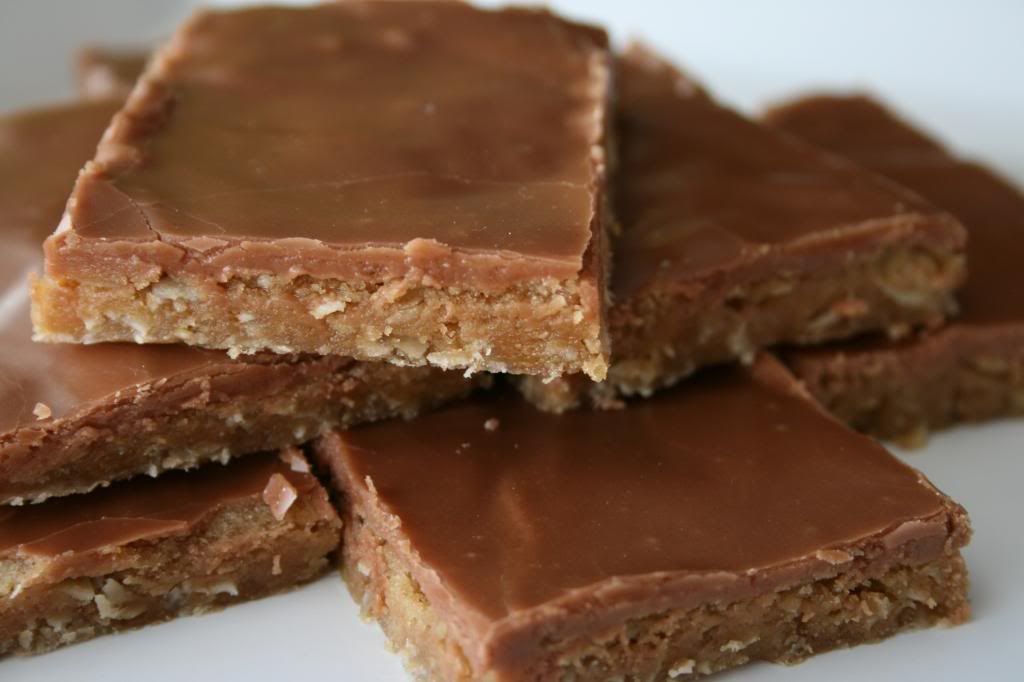


These are fabulous with their fudgy texture.
I just love ward cookbooks. ;)

Testimonial:
"Fact: I don't like peanut butter. Second fact: I would give my first born for these bars. Delicious!"  ~Jillian Rose
Well there you have it ladies and gentlemen. Need I say more?


This recipe is also very easy to make. Guaranteed success.
It is great because it makes a lot at one time so it would be perfect for gifts, parties, vacations, etc.


These bars are sweet so if you (like me) prefer desserts that are less sweet and more rich or "deep", for lack of a better term, then this may not be the recipe you are looking for but it is sure to be a crowd pleaser!

Peanut Butter Bars

Ingredients for cakey-doughy part
3/4 cup Creamy Peanut Butter
3/4 cup Brown Sugar
3/4 cup White Sugar
2 eggs
3/4 cup Salted Butter, softened
1 tsp Vanilla
1/2 tsp Salt
3/4 tsp Baking Soda
1 1/2 cups Flour
1 1/2 cups Oatmeal

Preheat oven to 350 degrees. Line a jelly roll pan (standard half sheet baking pan with sides ~ 10x16") with a sheet of parchment paper. You can use a smaller pan for thicker bars if desired. Beat together peanut butter, brown sugar, white sugar, eggs and butter. Add vanilla, salt, baking soda, flour and oatmeal.  Press mixture into bottom of pan to spread (mine did not reach to all the edges). Cook for 10-12 minutes (I cooked for 10 min). They will look undercooked when you remove them so don't overcook them. Let them cool and top with more peanut butter (optional- I did not do this but probably will next time) and the chocolate frosting.

Meanwhile, back at the ranch.
Ingredients for Chocolate Frosting
1 cup Sugar
1/4 cup Chocolate (I used semisweet chocolate chips)
1/4 cup Salted Butter
1/2 cup Milk
2 Tbsp Light Corn Syrup
1 1/2 cups powdered sugar (or until desired consistency, decrease for less sweetness)
1 tsp Vanilla

Bring all ingredients except powdered sugar and vanilla to a boil over medium-high heat. Boil for 3 minutes, stirring. Place bottom of pan in cold water until mixture cools and thickens a bit. Add powdered sugar and vanilla and mix until thoroughly blended. Pour on bars before mixture hardens.
{Recipe from Brooke Johnson in Parish Canyon Ward 2012 Cookbook- Thanks Brooke!}

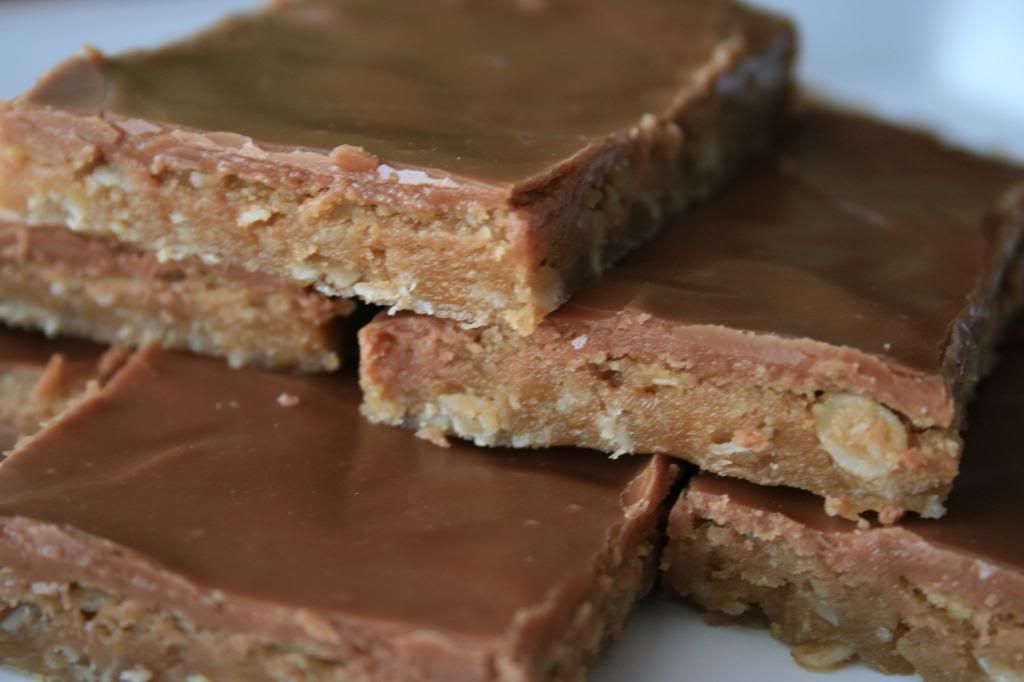
 

 Enjoy!

Monday, December 10, 2012

Cake Ball Ornament Party Favors


It's beginning to look a lot like Christmas.
Everywhere you go.
Take a look in the warm oven.
Preheating once again.
With cuppy cakes and macarons a glow!

It's beginning to look a lot like Christmas.
Cookies are in store.
But the prettiest sight to see
are the cake balls you will bring
to your friend's front door!


Eh? Eh? Like my song? Yeah, I made it up all by myself.
I could go on (because I just do this kind of stuff) but then thought better. 
You're welcome. ;)

Anyvays, my little song wasn't just for cutesake. It was prepping you for this next post on cake balls. So, are ya ready?! 
{ =D  I smile big every time I use the interrobang only because it is named such. haha}
I've given you the low down on how to make some pretty dang tasty and good looking cake balls. 
{If you missed it, check out Making Cake Balls and Dipping Cake Balls}

I am going to give you a few more tips here and show you how to make cake ball ornaments... not real ornaments... more like real cake balls. :)
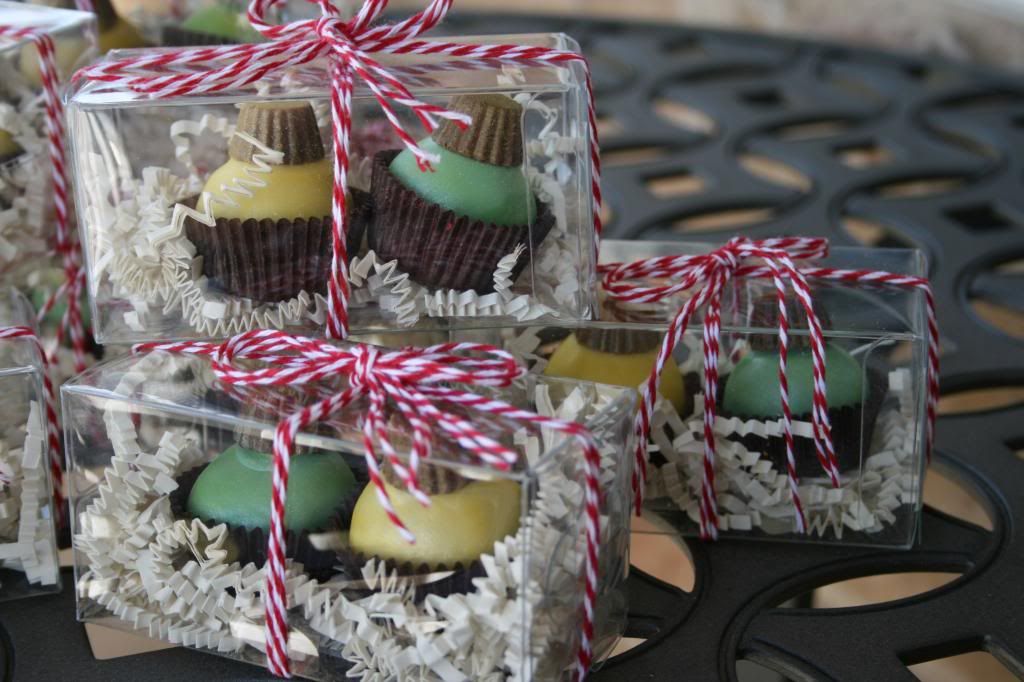
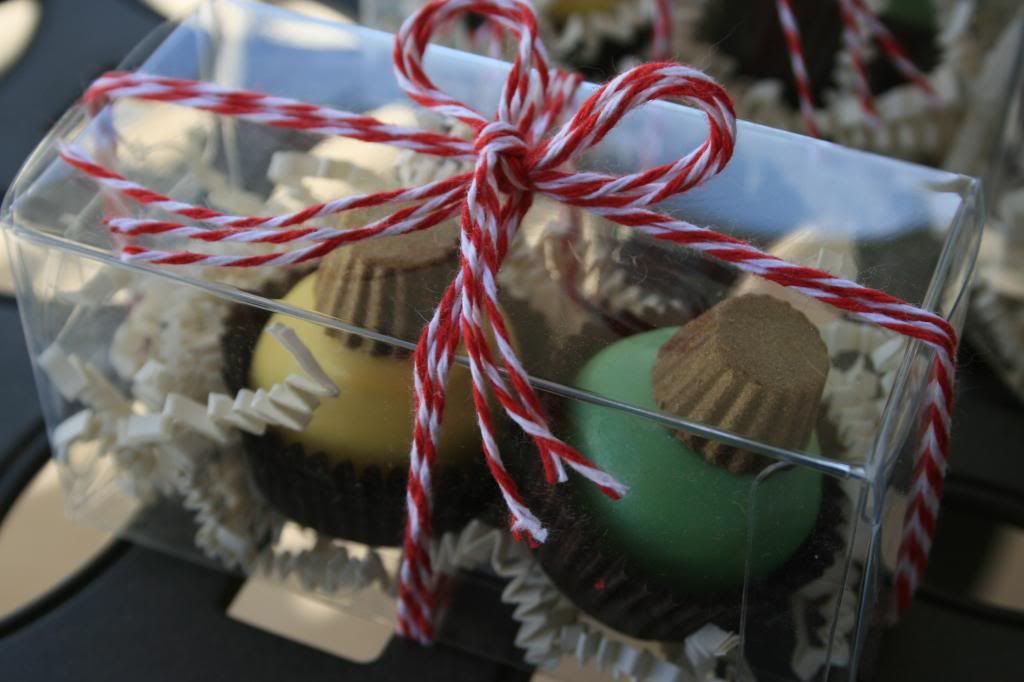
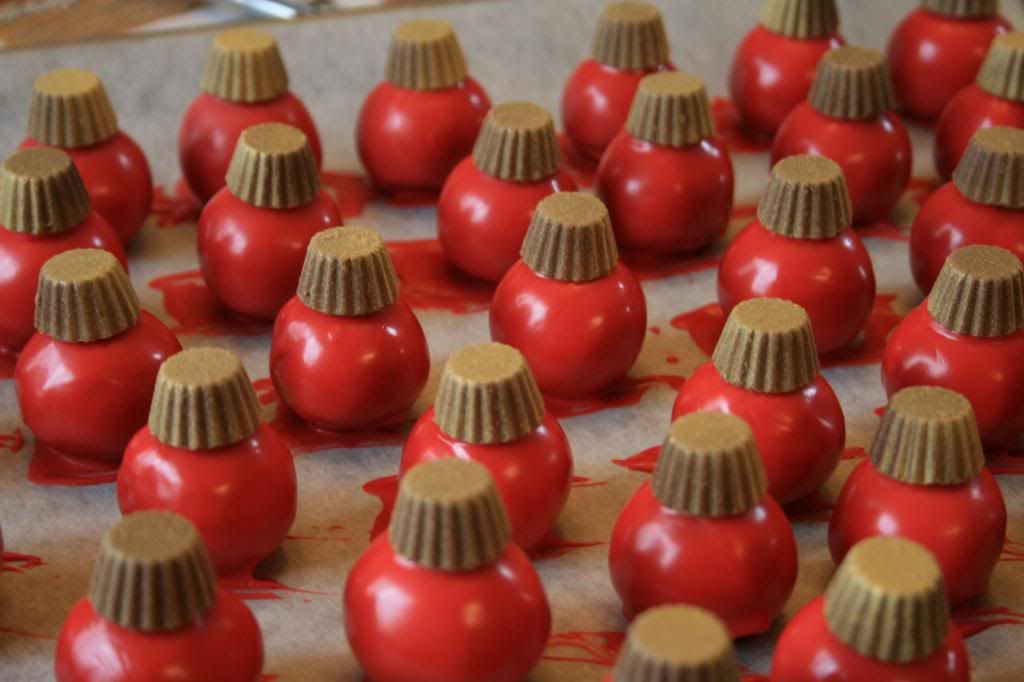
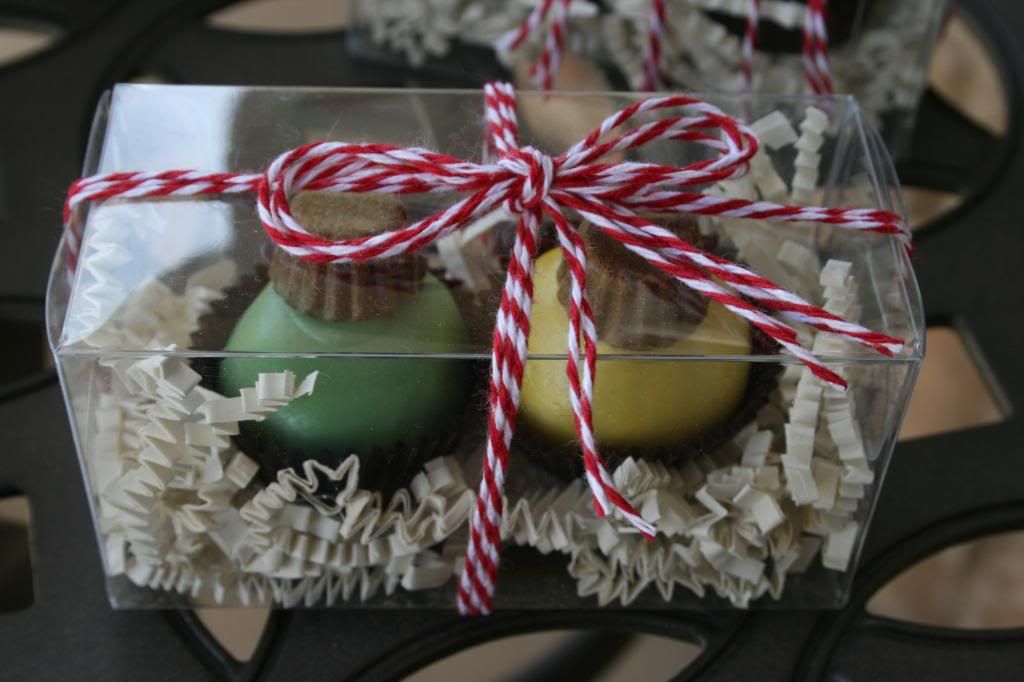
Like these.


Awww. Aren't they cute? {Rhetorical question}
Well you're in luck.... they're as easy as they look.
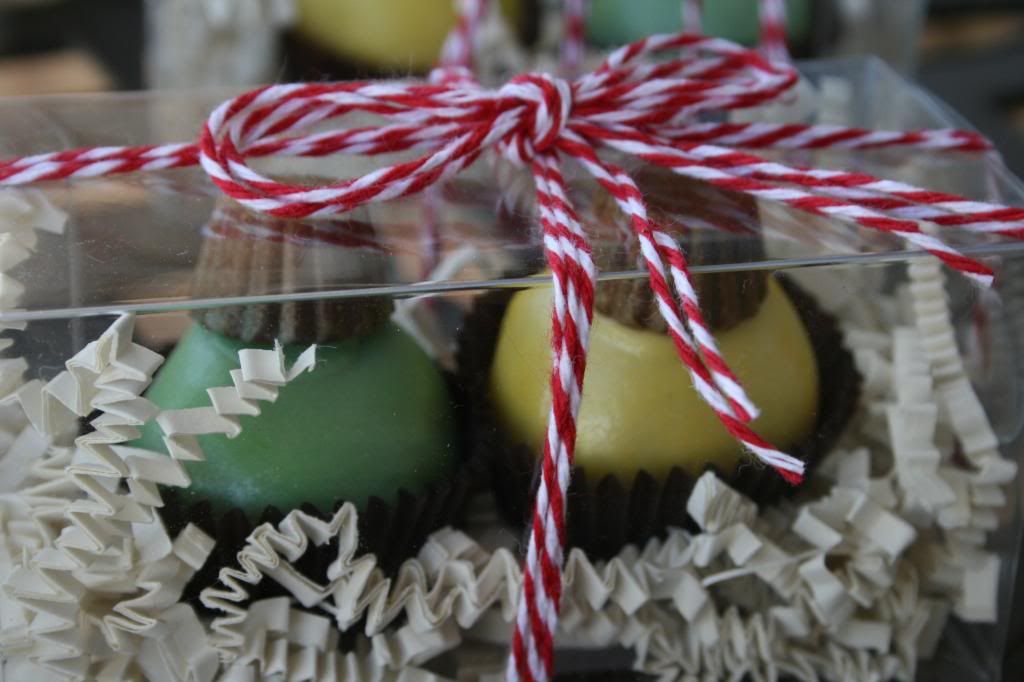
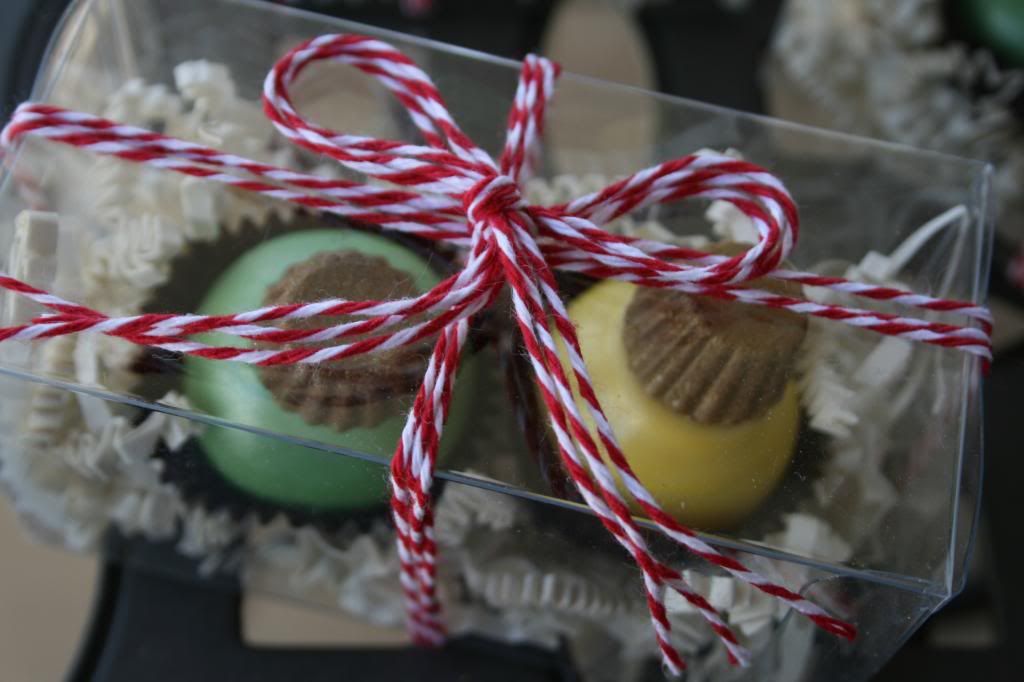
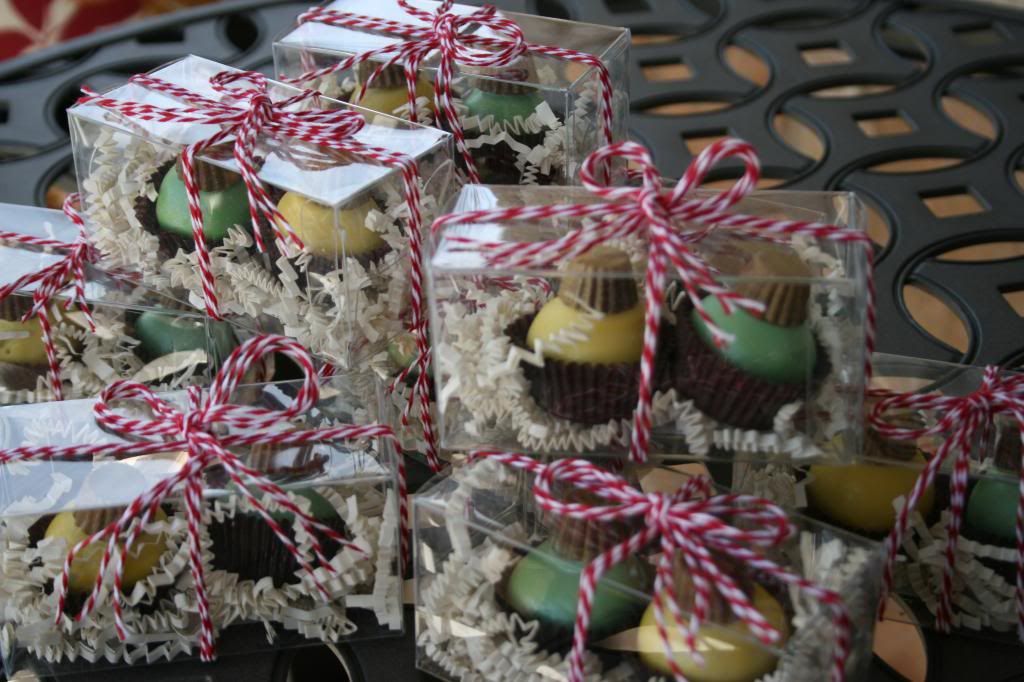
These make fabulous Christmas gifts or you could even make these for a cookie exchange and impress the ugly sweaters off of everyone (...overachiever). These happen to be gorgeous party favors for a Ladies Christmas Luncheon.


I also did red ornaments but didn't get a chance to take nice pictures of them. You'll see them later. These pictures don't really show you what they really look like, unfortunately. I gave the outside of the ornaments a metallic sheen to it.


Here are the supplies you'll need.
Undipped cake balls
Candy melts/ chocolate in your preferred colors
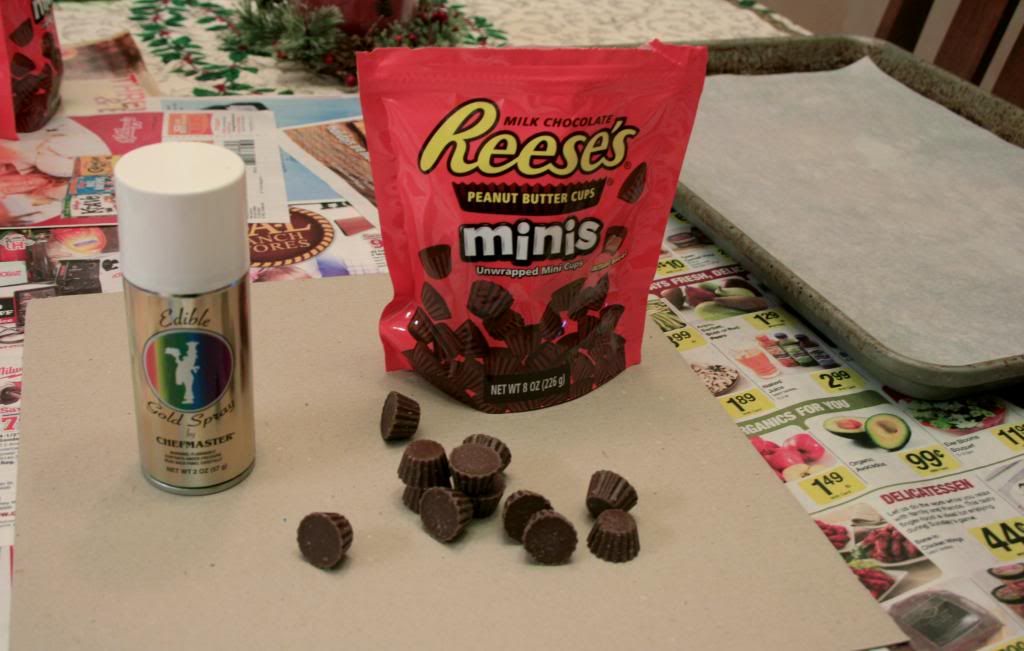
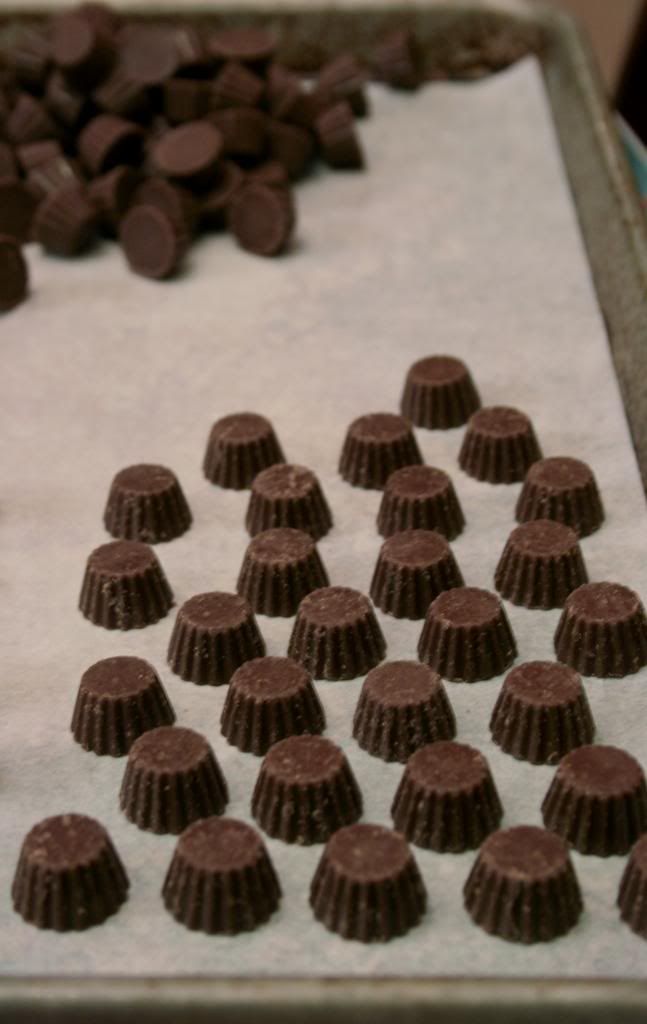
Reese's minis (NOT wrapped miniatures- see pic below)
Edible Gold Spray
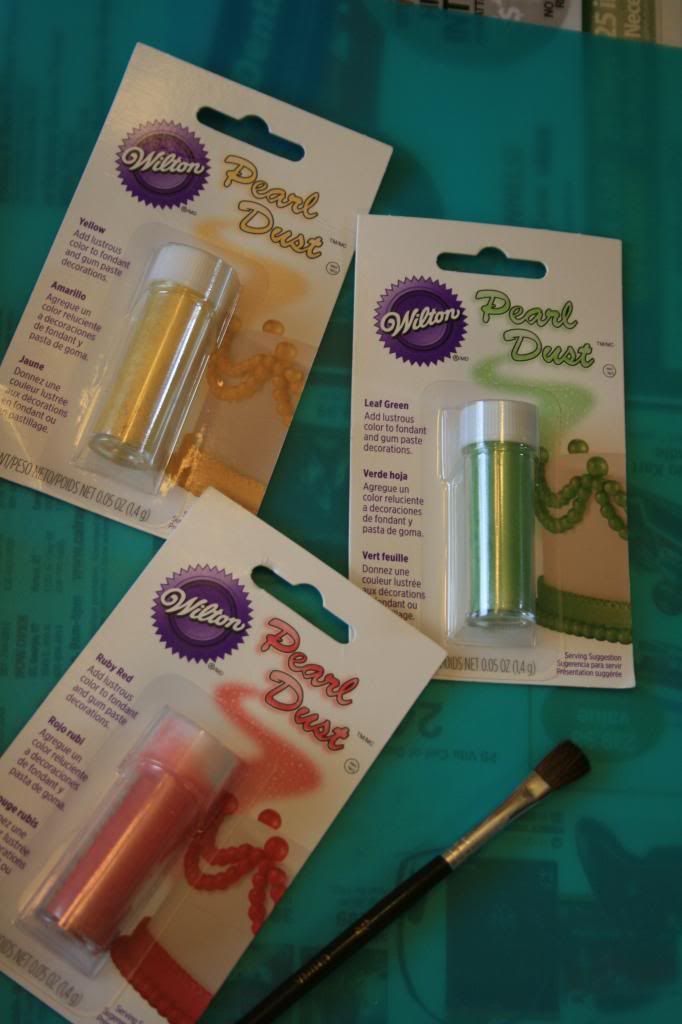
Luster/Pearl Dust to match your melt colors
A soft brush
2 x 3" clear boxes
Shredded paper (I used Ivory colored)
Baker's twine in your preferred color
Candy cups


First, I want to chat with you about packaging.
THE best place to get your packaging online is from Paper Mart. They have the cheapest prices I have seen even compared to local stores around me. Their orders ship the same day and the whole company is just impressive. This is the only place I buy my packaging from. They have a HUGE selection too.


I bought these clear boxes and didn't realize they opened on the small end and not along the long edge {if that makes sense}. That made things a little more difficult to package so just keep that in mind when buying your boxes! The shredded paper comes in a huge box and will last you forever! {So you may want to buy a color that can be used in lots of different ways} I'm excited to use it!
The baker's twine is a good deal too. $10 for 240 yards, Cheaper than anywhere else I have seen it.


Ok! So. Step 1
Get your mini Reese's and edible gold spray out.
I used Chefmaster edible gold spray but I'm not sure I will use this product again. It did not really cover a lot of area and I ran out before I got the effect I wanted. Plus this can was $9. Not worth it in my opinion so I think I will try something different next time.
{If you know of any awesome options, let me know!}


I lined a baking sheet with parchment but I probably didn't need it at all. I wouldn't waste it next time.
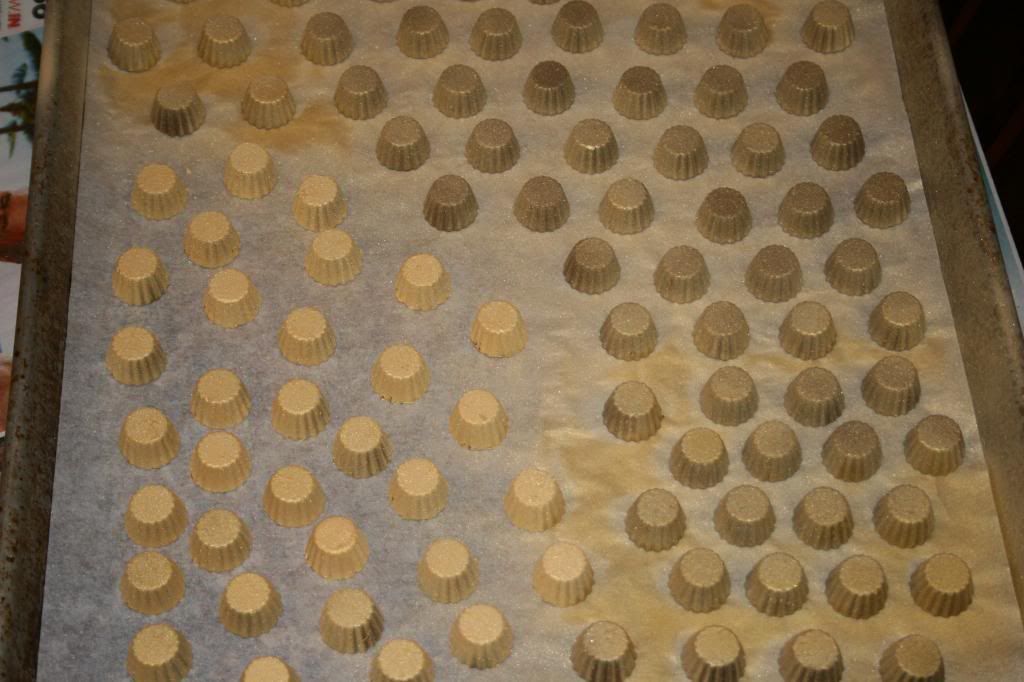
Cram as many of the mini Reese's as you can onto the baking sheet allowing some space in between so the spray can get to it. Put the big side down.


I then took it outside so the overspray wouldn't get on anything, spray back and forth staying about 6 inches away from the mini. Spray all the sides so you get fairly even coverage and you get the desired affect.


Don't get too close. It will use too much and it doesn't look the best in my opinion.
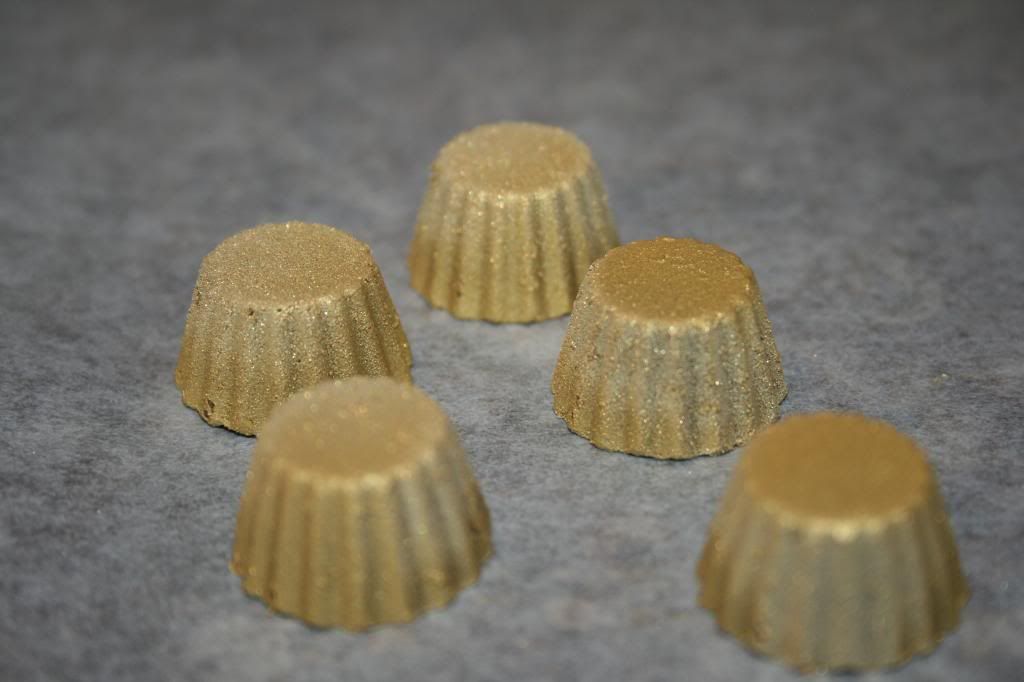
See here below, on the left I sprayed too close and it didn't really look gold anymore, it was more yellow weird looking. Just lightly spray over and over until you get your desired shade of gold. 


Below: heavy spray. It kind of took away the shiny gold look.
It looks ok but not what I was going for.


Let them dry and set them aside for when it is time for dipping.
{When you wash your pans (and your clothes), the spray will come right off. It is water soluble.}

Ok. It's time for dipping.
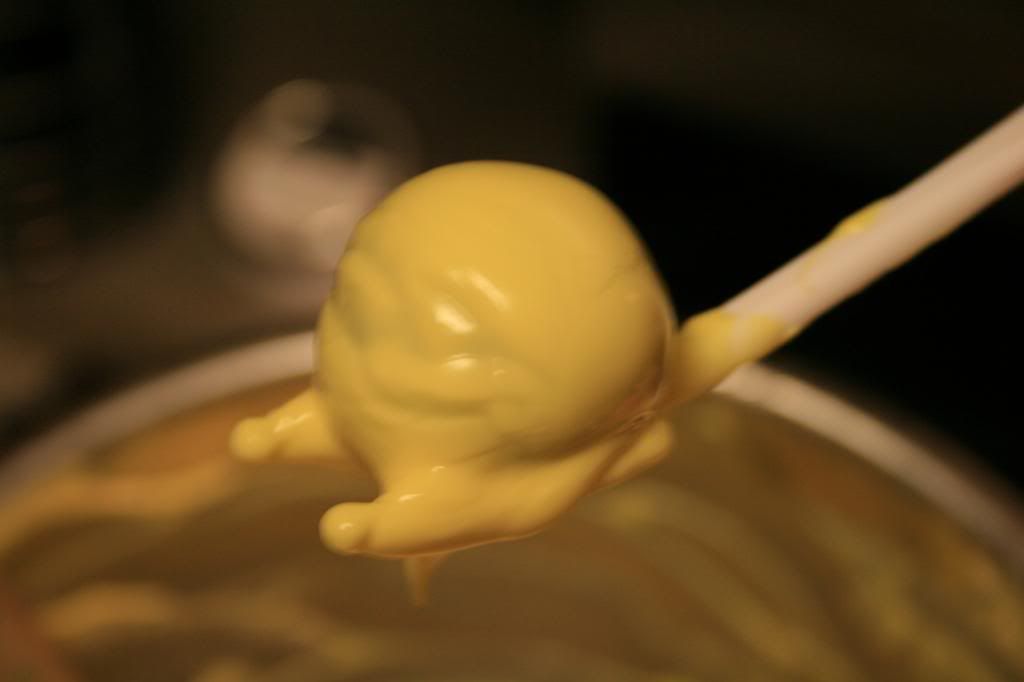
Dip away. It's a normal cake ball.
A piece of trouble shooting advice though...
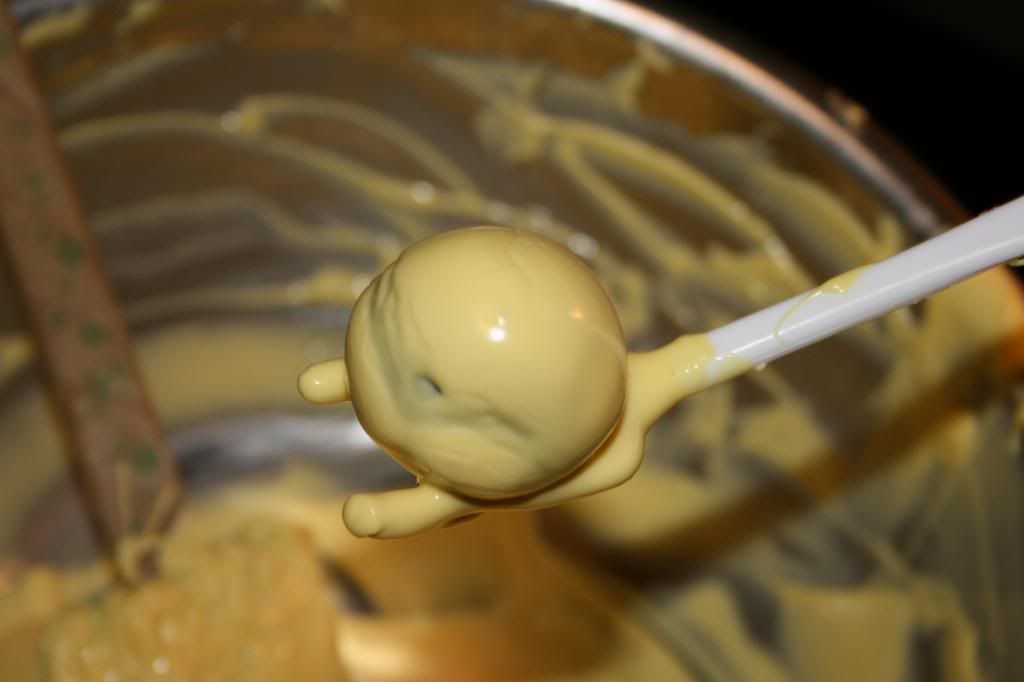
Have you ever gotten that sad rhino skin look on your cake balls?
Like thus.


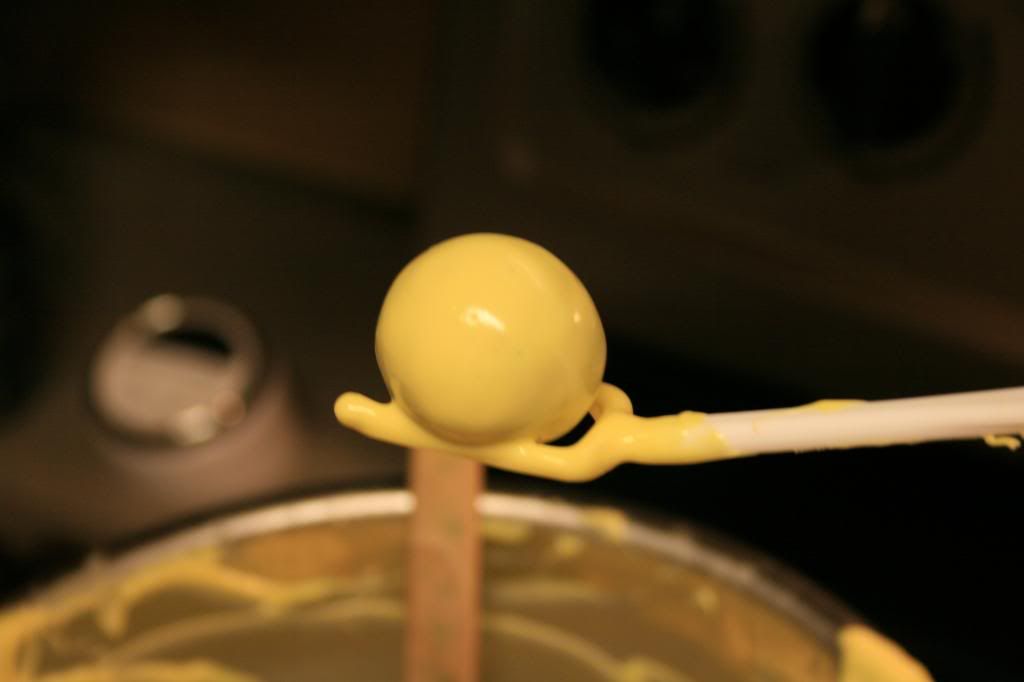
Or thus.


It's annoying.
It's because of the chocolate melt. The melt that is touching the cake ball (that has been refrigerated) cools and hardens faster than the melt on the surface. This causes the melt to harden unevenly and part to start sliding off the cake ball causing ugliness. Boo.

Solution!
"Bounce" off the excess melt faster than you are probably doing it. Don't just let it drain off on it's own. I bounce the dipping tool against the edge of the bowl.
This does not allow the melt a chance to harden before the excess drips off.
The result?
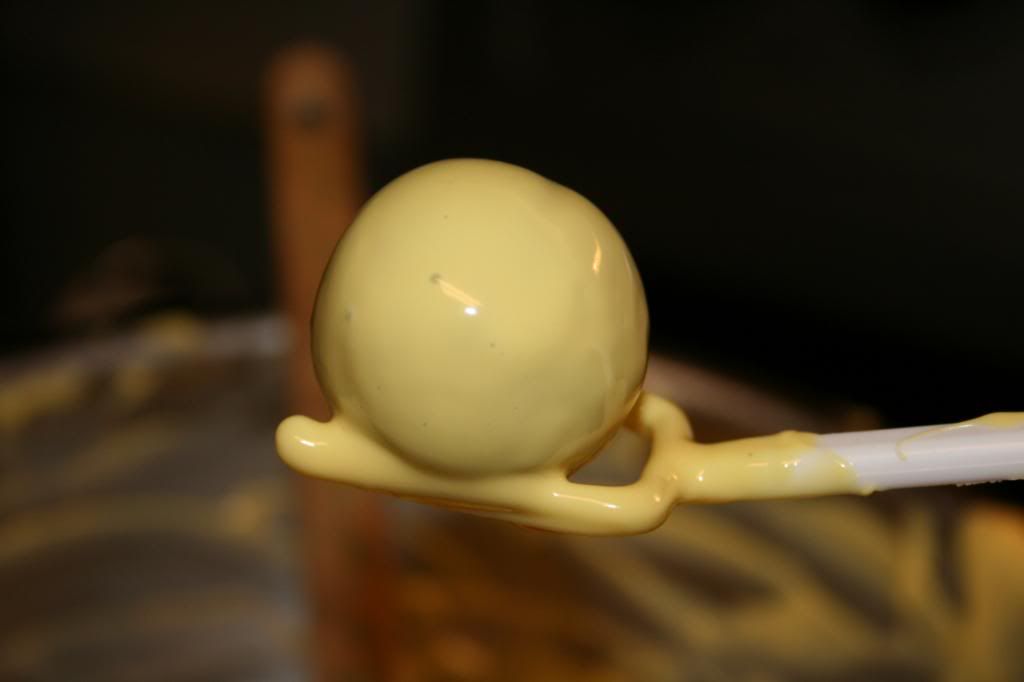
Voila.


... and Voila (respectively).


See how pretty! These are the same 2 cake balls in the previous ugly pictures. Yes! You can save them. Yes! It's a technique thing. Just redip them and shake the excess off faster. That's it. Yep, nothing to fret about.
... just make sure your melt is not too hot and your cake ball is not too cold as well. This will exacerbate the rhino skin complication. :) Also, thicker candy melts seem more apt to having this problem. ie: Wiltons.

I use a double pronged dipping tool. It's me favorite. This is how I do it. Not too shabby.


SO! Once you dip the cake balls, allow them to harden ever so slightly before topping it with a gold reese's mini. If you put it on right away, it may slide off the side or smoosh down in the melt too much and look weird.

After much love you should get thus.


Yay! Now for the fun part. Don't allow them to loose their tackiness before doing this next step. It works best if they are slightly tacky....like sticky... not like shoddy. That reminds me of a funny story.
So get out your luster dust and brush now.


I am sending you to a link to unravel the mystery behind all the different types of food dusts out there. I found it highly educational and useful. Take a quick look before buying your dust please.
To get a metallic shiny sheen like quality to your candy melts or fondant, you can dust it with luster dust or pearl dust, same type of product. You can dust your cake ball with the powder as I did or you can mix your powder with a high alcohol liquid like vodka or lemon extract to make it more like a paint and get a richer more substantial metallic look.
So just dip your soft brush in the powder and go to town brushing it on the cake balls right on the pan they are sitting on. It goes a long way so be liberal with it and put on as much as you can. You can even go over it a second time if you want.
I used ruby red, yellow and leaf green luster dusts. You can even slightly change the end result on the color of your cake ball by using a different color of luster dust.... ie: brush red dust onto the yellow cake ball and you'll get an orangey sheen to your ball. :) Fun! Get out your color wheel and have fun!


You can sort of see the sheen of the cake ball in the picture below, more with the yellow. These pictures really don't do it justice. I'm really sorry. I didn't have time to play around with my camera to see if I could get better shots. Next time. :)


Allow the cake balls to completely harden. During this whole process you will want to handle the cake ball and reeses the least amount as possible so you don't rub off the powder and sheen. There's really no need to pick them up until you are ready to package them.


So now place all the cake balls in little candy cups. These are not cupcake liners. They are smaller. They are made for candy. They fit better for smaller cake balls like mine. I make my cake balls rather small because I find they have a more pleasing chocolate to cake ratio. I would say mine are about a tablespoons worth.


Finish your party favors or Christmas gifts by putting some shredded paper in the bottom of a box, delicately place in your ornaments and tie it off with some baker's twine. You'll see I tripled the amount of twine I use. I like to either double or triple it because it adds more character I think. :)


And there you have it. Christmas ornaments fit for your favorite peeps.
 TTFN.
{ That's "Ta Ta For Now" for all of you hermits that have never seen Winnie the Pooh}

Monday, November 19, 2012

Salt Pigs

I have yet another confession to make. 
I want a salt pig.
I have for a while now.
I actually don't really want the traditional cloak and dagger hooded salt pig. The only reason being it looks less functional.... I need to fit my whole hand in there and I'm not sure I could unless the thing is huge.

I like this one.

Of course you do, Sara, it's expensive.

Here are some more cute ones for you to peruse. You can click on any of these if you want more info from Amazon (Love them. Yep, I'm Prime).


Salt and Pepper Pigs. :)  Sounds delicious.


An acacia wood pig.

This one is from Paula Dean. You can separate different types of salts.
A marble pig.
Cloak and dagger hooded salt pigs

 So, why is the salt pig?
This is what Dr. Google said.
Theory #1: The unglazed interior absorbs moisture keeping the salt fresh and dry
Theory #2: Ceramic interiors keep the salt from clumping in a humid climate or kitchen
Theory #3: The top/hood keeps the soot and dust out of your salt

All very logical and probable.
My Theory: It's a lot easier than trying to open that dang salt container aluminum spout, dumping it into your hand, having to use two hands to decorate your steak with salt and then wasting the remainder every time you need to salt something. {Yes, I refuse to use a salt shaker.}

So... why is it a "pig"?
Well, a long time ago in a land far far away (Scotland) John McSmith got fed up with the little aluminum spout and put his salt in a little jar. According to the Scottish, a "pig" is a jar or container made from "earthenware" like clay or ceramic, and thus it was named.
Yep, proud to be Scottish. :)

Anyway, these little salt pigs are super cute and would make a fabulous hostess gift. Put some fancy Himalayan pink crystal salts in it and finish it off with a cutesy bow or some twine and a gift tag.

So, there you have it. Salt pigs. I want one.
But, wait, we haven't addressed the most important question of all.
"Is it ok to put kosher salt in a salt pig?"

Wednesday, May 23, 2012

Graduation Desserts {Cupcakes, Cake Pops, Candy}

 IT'S GRADUATION TIME!!
WAHOO!!!!
Congratulations to all you graduates out there! Way to go!
It seems like just yesterday that I was walking across the stage to collect my own diploma before getting sprayed with silly string. Oh the memories.
Those were good times and now those good times are all for you.
So, why don't you reward yourself for all that hard work with a little somethin' somethin' that was perfectly designed for YOU!
Graduation desserts of course!
These desserts are sure to start your new life of freedom off with a BANG!

First Up:
Graduation Cupcakes!

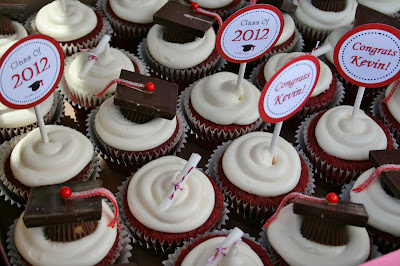
We grab our graduation cap, our diploma, throw in a few cupcake toppers and we are set for a Graduation Partay like no other!


Super Cute. Super Easy.


So to make the little graduation caps you are going to need some chocolate squares (Ghirardelli filled squares), mini Reese's peanut butter cups, small roundish candies (mini m&m or sixlets), some red Ripp Rolls or other stringy candy and some melting chocolate wafers.
First cut your Ripp Rolls into long thin tassles however long you want them to be. You can "fray" the end of the Ripp Rolls quite easily by pulling apart the little ribs for an extra cute touch. Unwrap all of your chocolate candies. You may want to refrigerate or freeze them for a short time so the wrappers don't rip the sides of the chocolate off of the candy. Melt some wafers in the microwave in a good ziplock baggie until just melted. Snip off a small tip of the corner. Place some of the melted chocolate on the bottom of the Reese's cup then place the chocolate square upside-down on top (so there is no writing on the top) and press firmly but gently. Repeat and allow all to dry. If the chocolate is clogging up the tip then just microwave it for a few seconds to remelt the chocolate. Use the chocolate melt to draw a thin line from the center of the chocolate square to the edge. Place the small candy in the center and lay the candy tassle along the line and allow to hang over the edge {Take a look at the pic}.
These are pretty heavy so I would wait until you are at the event to put them on the cupcake if you want to transport them. They may slide or shift on the frosting while transporting.


I make my cupcake toppers on Microsoft Publisher. I made the template a while back and now all I need to do is just change up the colors and details and voila! Instant deco.
I use a 2 inch round punch for the circles. All the other details are printed on the cardstock.
After I print out a sheet of these circles and punch them out, I attach them to lollipop sticks with a small round sticker on the back. You can just use tape (no one looks at the back!)
Then just insert into the middle of the cupcake!
If you have a lid that is going to go on top of your cupcake carrier box then you might want to wait to put the toppers in the cupcake until you set them up at the event so they don't get smashed.
{Would it be useful if I made a windows publisher cupcake topper tutorial?}


Look at these cute little diplomas! These are my favorite little topper for the cupcakes.
These were also super easy to make! Surprise!


Get a sheet of parchment paper (I use sheet pan sized pre-cut parchment paper sheets because it makes me feel rich when I use them and it makes things go faster and easier.) Cut the sheet into little rectangles with the width being however long you want your diplomas. Don't worry about them being perfectly straight. You won't even notice any problems when you roll them up. My rectangles were about 2" x 3".
 So here is a tip that made my life easier once I discovered this. If you cut your rectangels so that one side is slightly narrower than the other and you start rolling with the slightly longer side, you can grip the diploma much better to roll it into its tube. I really can't explain much better than that without actually showing you. Give it a try. Hopefully it makes sense. :)
Once you roll it small enough, use a long enough piece of tape to go all the way around the diploma. Tape does not stick to parchment paper so you have to put the tape all the way around to the other side where the tape is. Secure tape to tape.


Once you have all of your little diplomas rolled and taped, tie a small piece of twine or string around them. Then place them on your cupcake. So perfect!!


HERE is the recipe for my delicious red velvet cupcakes.
 As you can see, I placed my cooked cupcakes inside these red tinfoil liners.

I love them. Do it.


 So there really isn't anything quite like a delicious Pirouline.... hazelnut specifically.
They are so rich and delicious, I would not mind getting these every Christmas. =D
Don't they just look like little diplomas?!
 
 
Just tie some twine on each Pirouline and you got a diploma.
Easiest (and cheapest) diploma you will ever earn. Guaranteed.


Mmmm.......ghhhaaa.....are you drooling yet?


These were also one of my favorites of the spread. So tasty. So cute.

.
The graduee, Kevin, had some of my Rock Pops back from THIS post and had to have them for his graduation party and so a "Spark of Genius" cake pop was born just in time for graduation.
{Check out the link for a tutorial}


I used watermelon pop rocks....funny, they came in a green pouch.
It worked out because the theme color was red.
Yes, they pop in your mouth and not in the chocolate. :)
{I think there must be some chemical reaction going on because the pop rocks seem more ferocious and explosive when on a cake pop....dunno. Eat at your own risk. Ha.}


 Along with some delicious baked goods we had some red themed candy.

 Kevin loves cinnamon flavored candy so of course some Hot Tamales were in order along with some chocolate covered pomegranate seeds and red vines.


 And the table.


I didn't make these cute favors but wanted to include them in this post because they were so fun.
 These are mini Hershey bars wrapped in custom wrappers and topped with a custom tag.


Here is the other side. Cute huh!?

 
 I also did not do these beverage covers but they look so great!


Congratulations Kevin!
Thanks for letting me do your graduation desserts!
It was a blast!


 Again, Congrats everyone who graduated!
Now go somewhere and make a difference!